Now we are going to introduce the installation process of PMI composite housing.
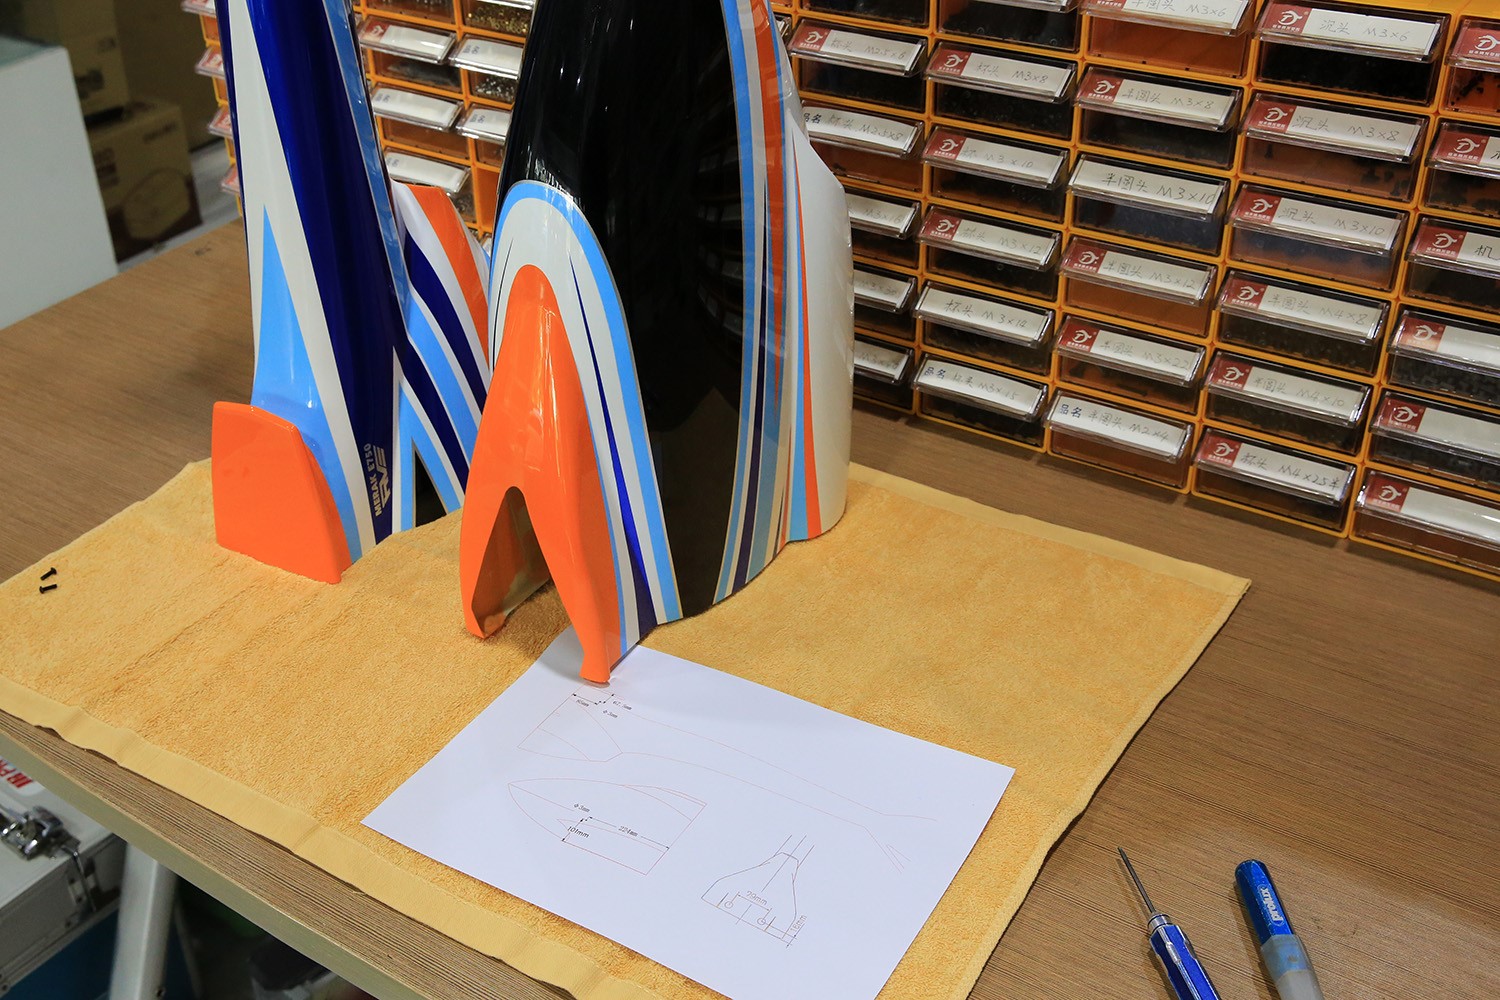
If the MERAK E750 body is installed,
The installation holes in the instructions are accurate.
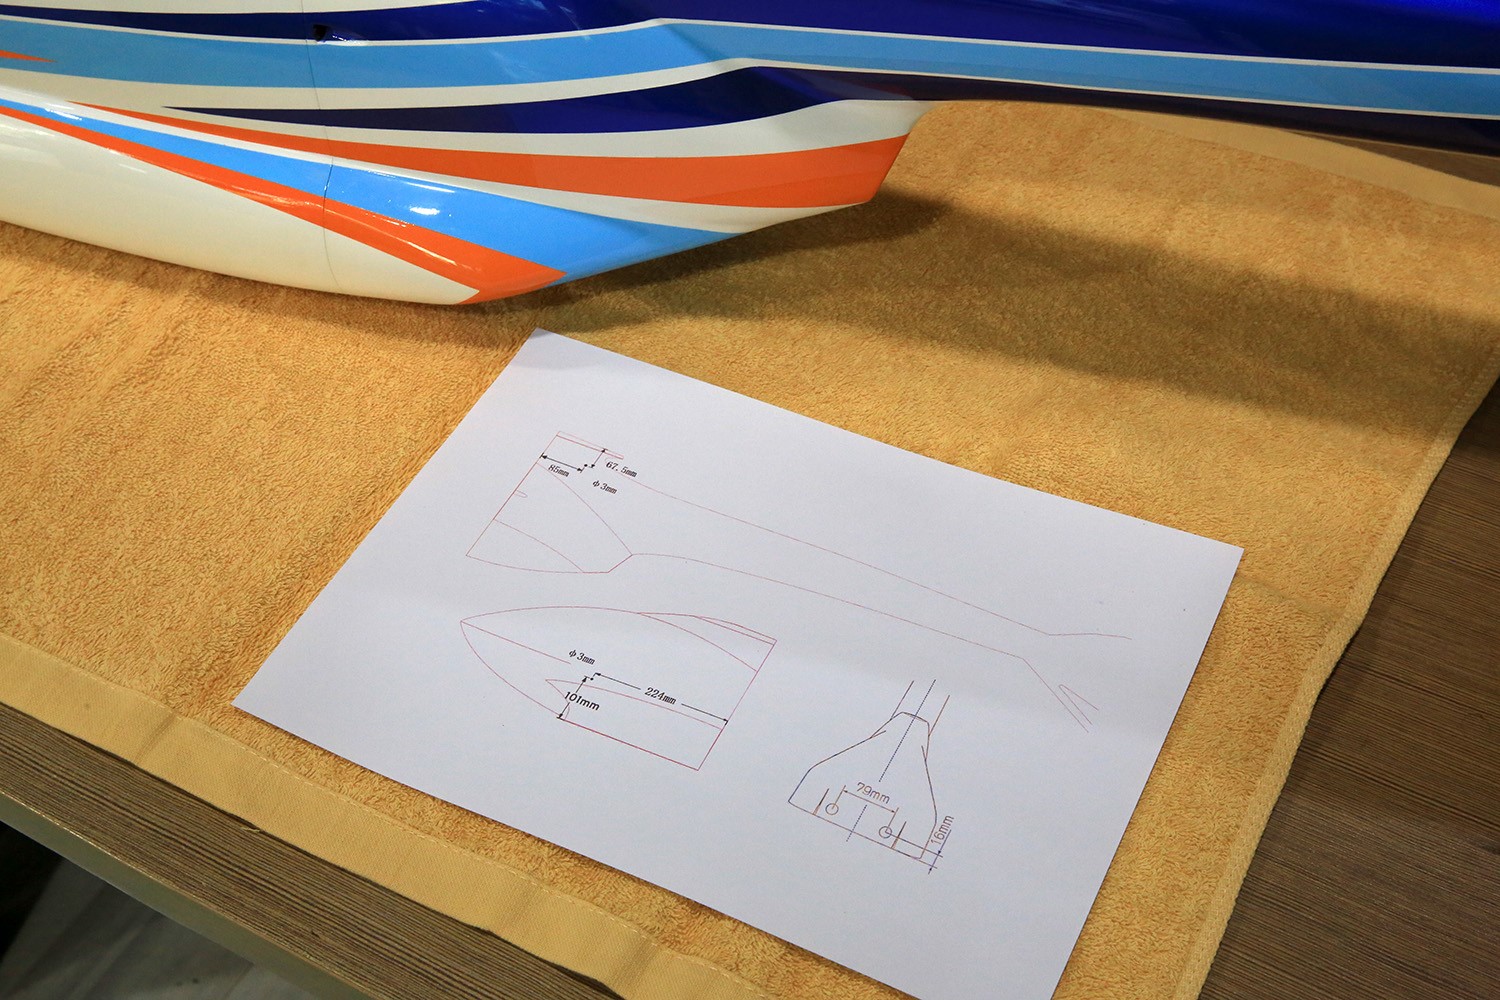
First, locate the opening position according to the size.
Secondly, open a hole about 2.5MM, and pay attention not to open it, so that it will be more beautiful.
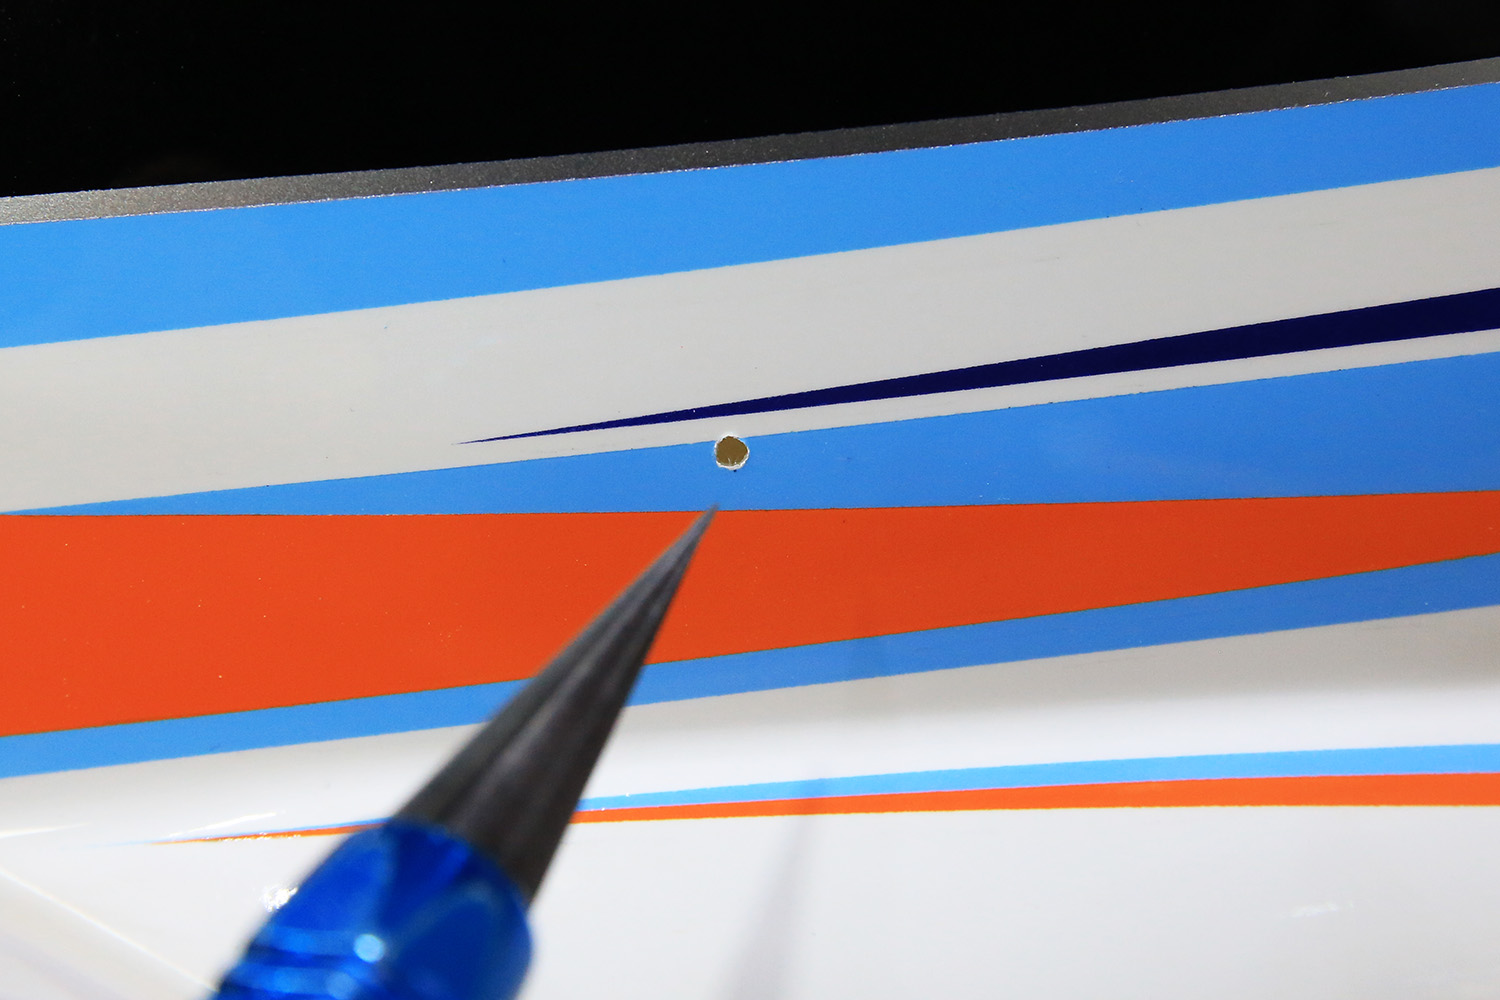
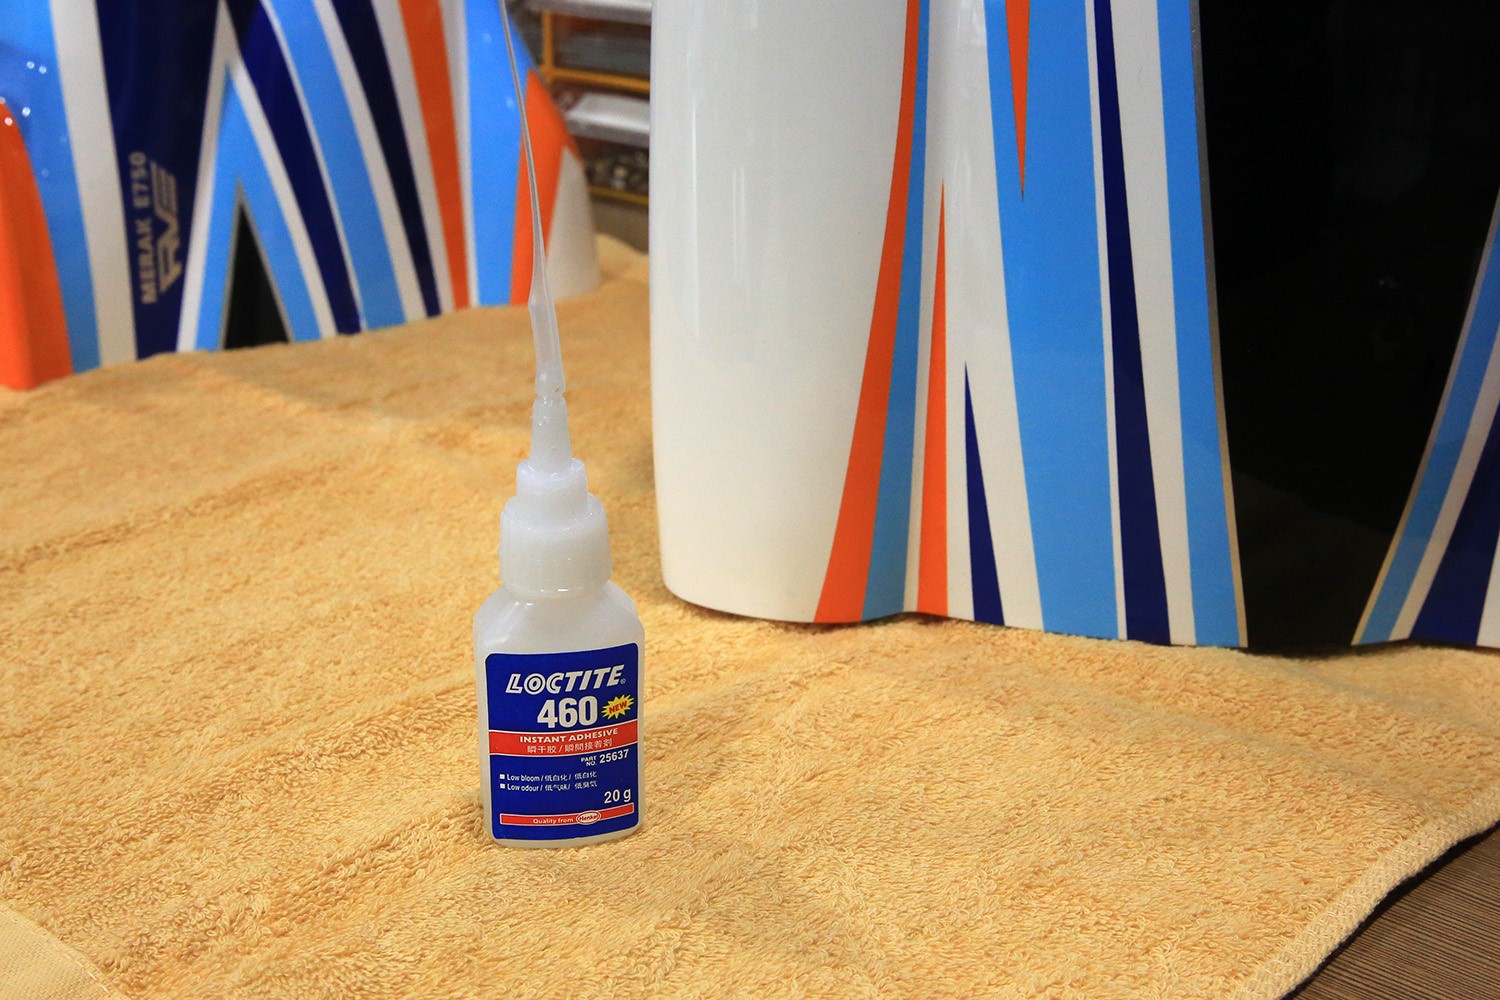
Because the interior is PMI sandwiched, CA glue should be applied to the edge of the hole. Increase its strength.
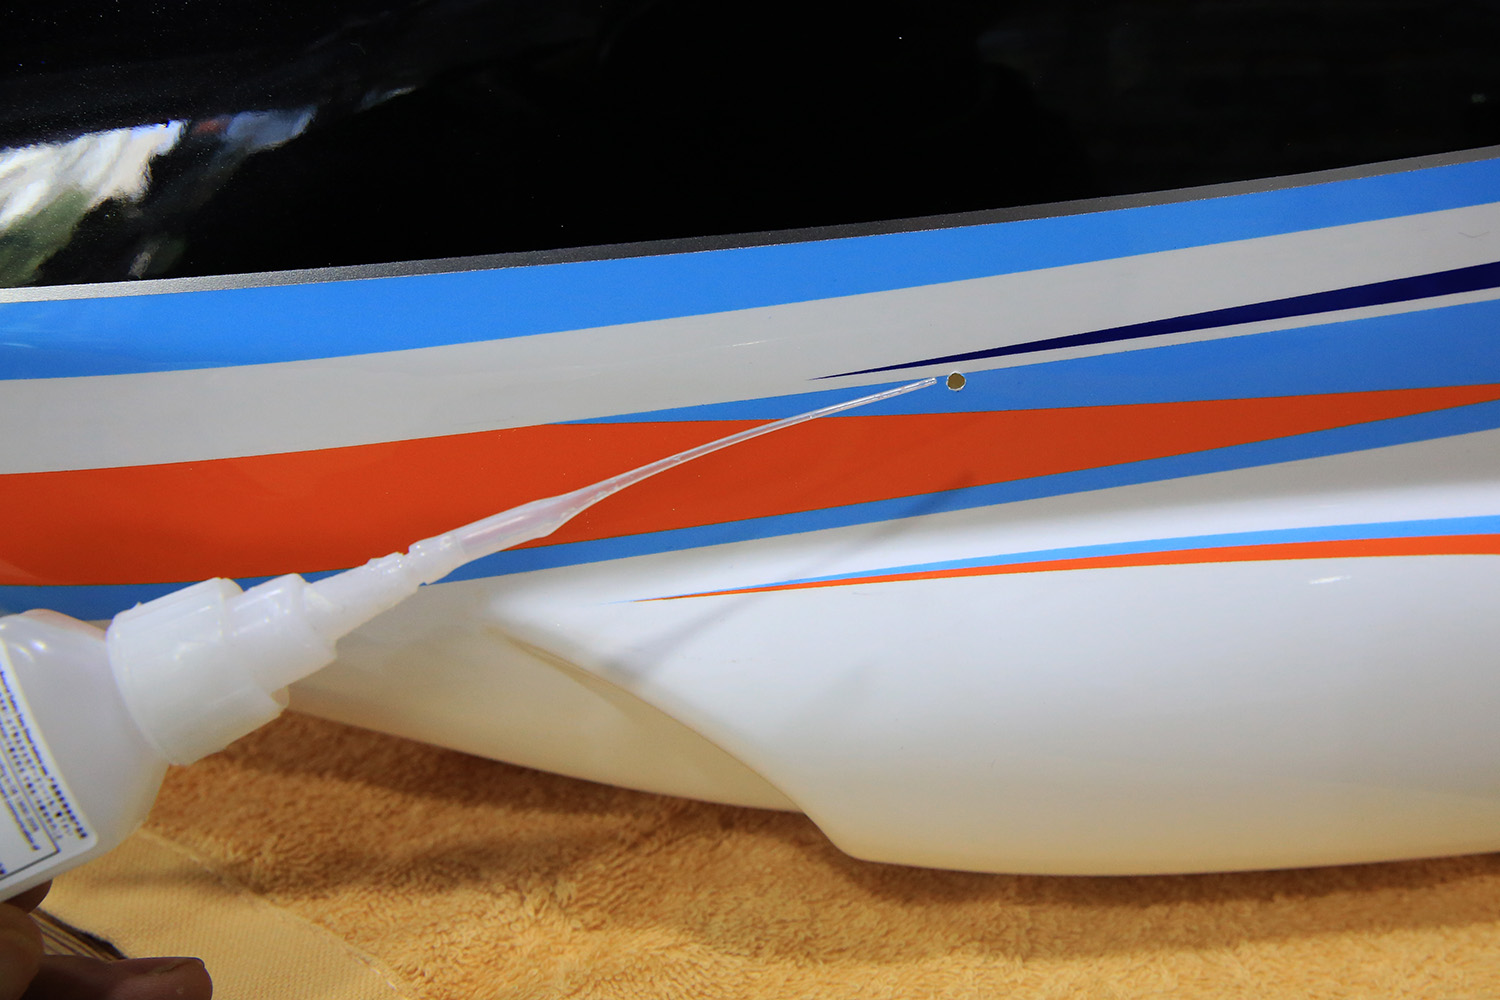
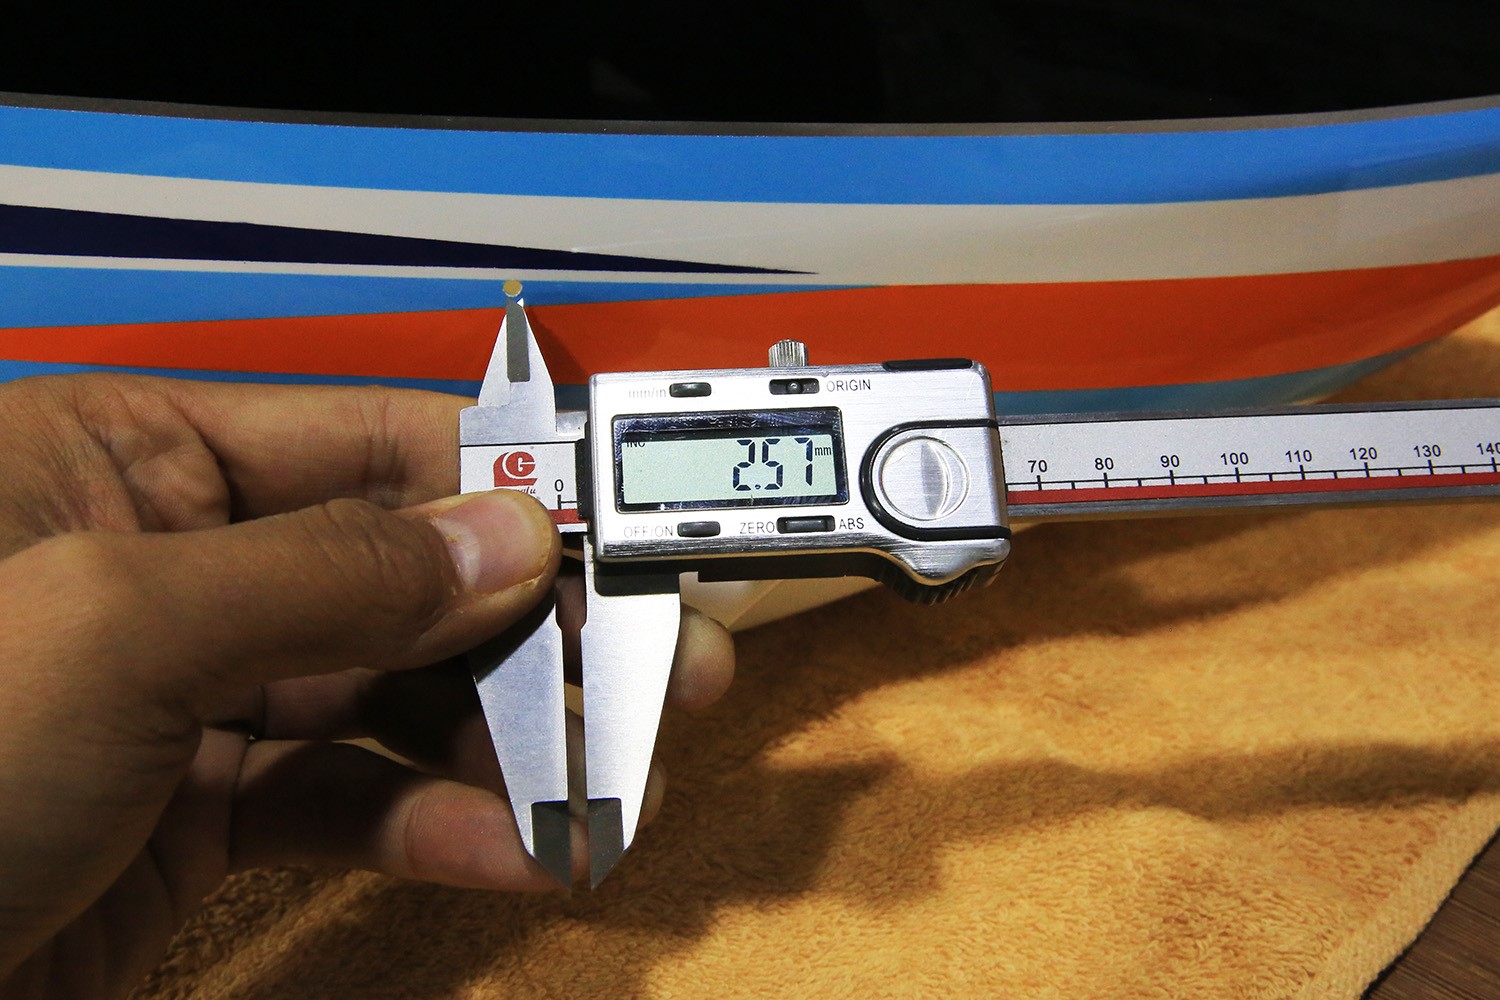
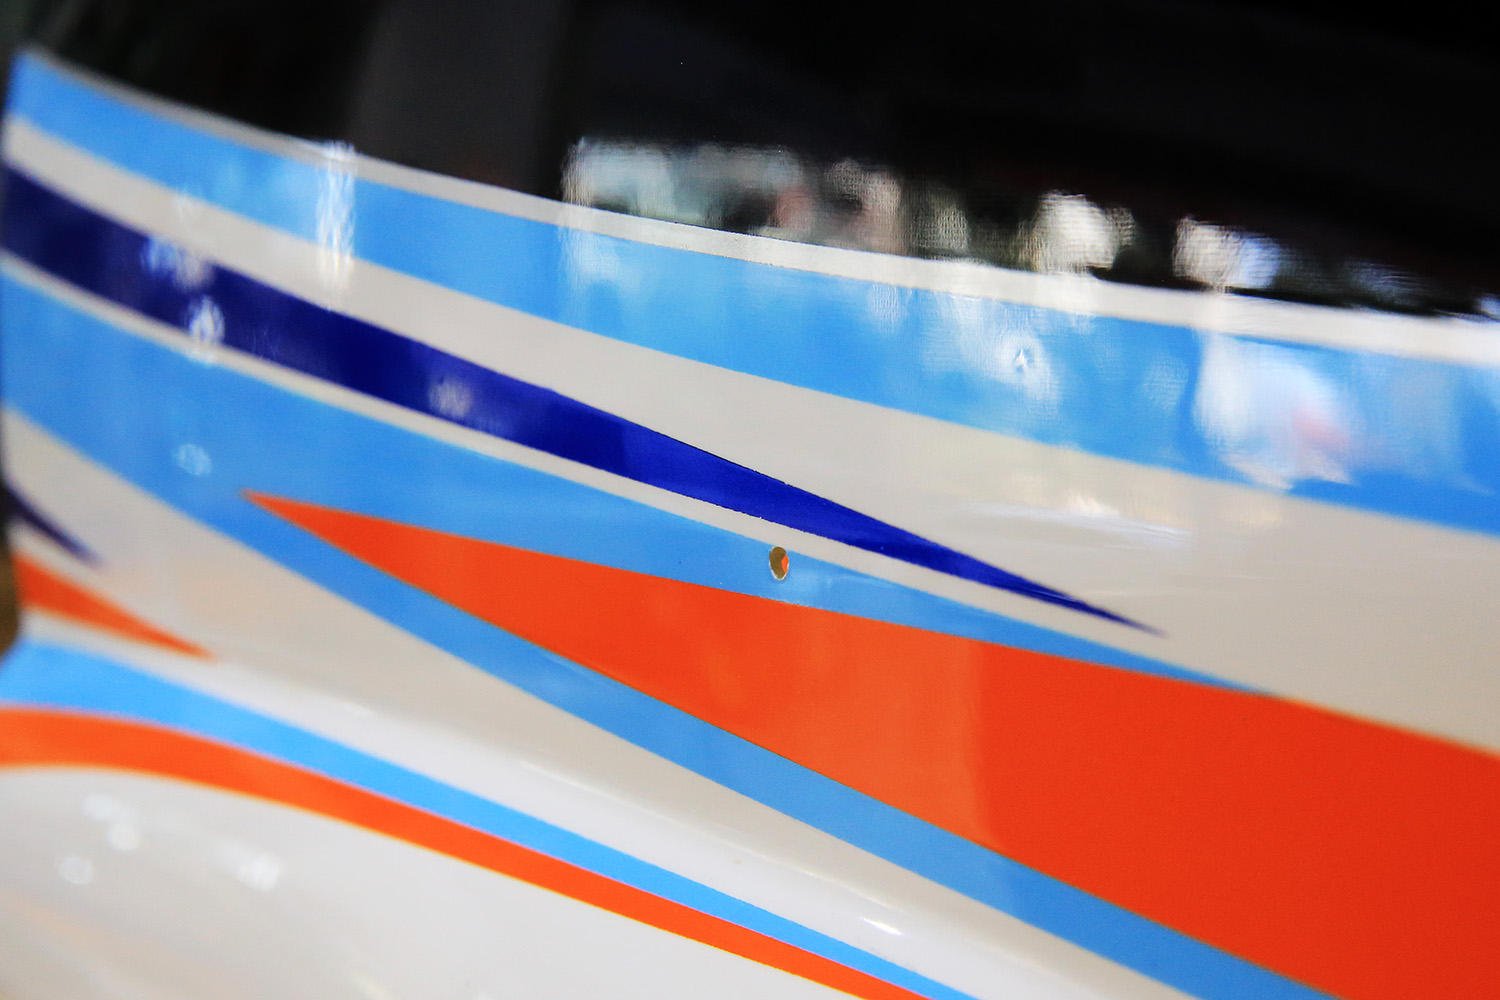
We continue to open the holes in the back of BODY.
Measure hole position first.
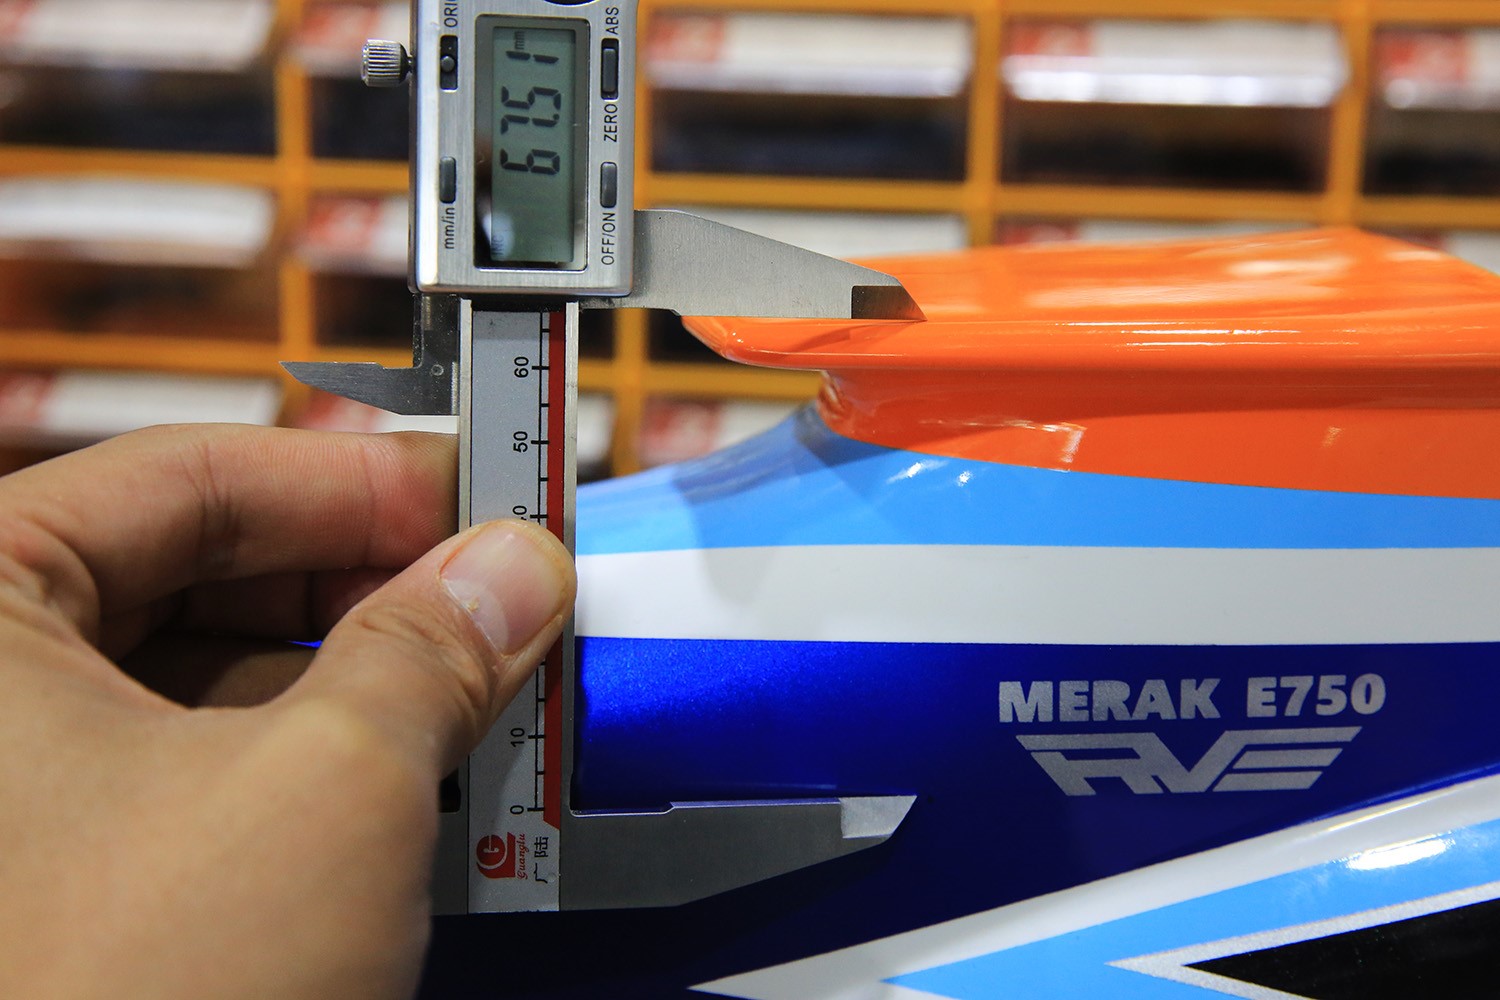
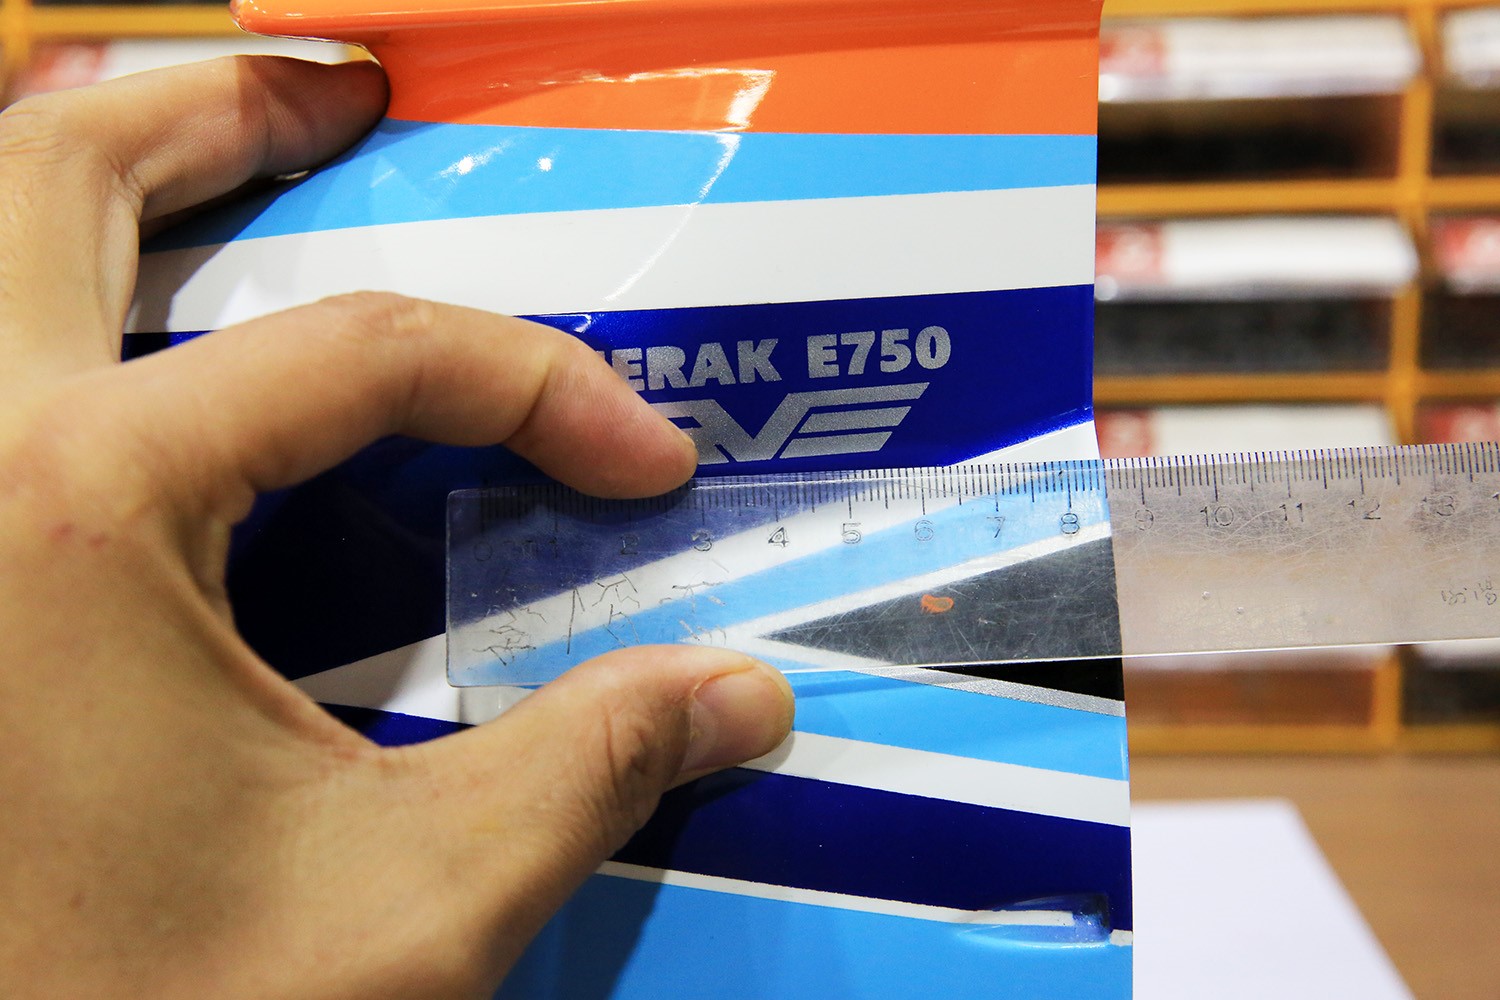
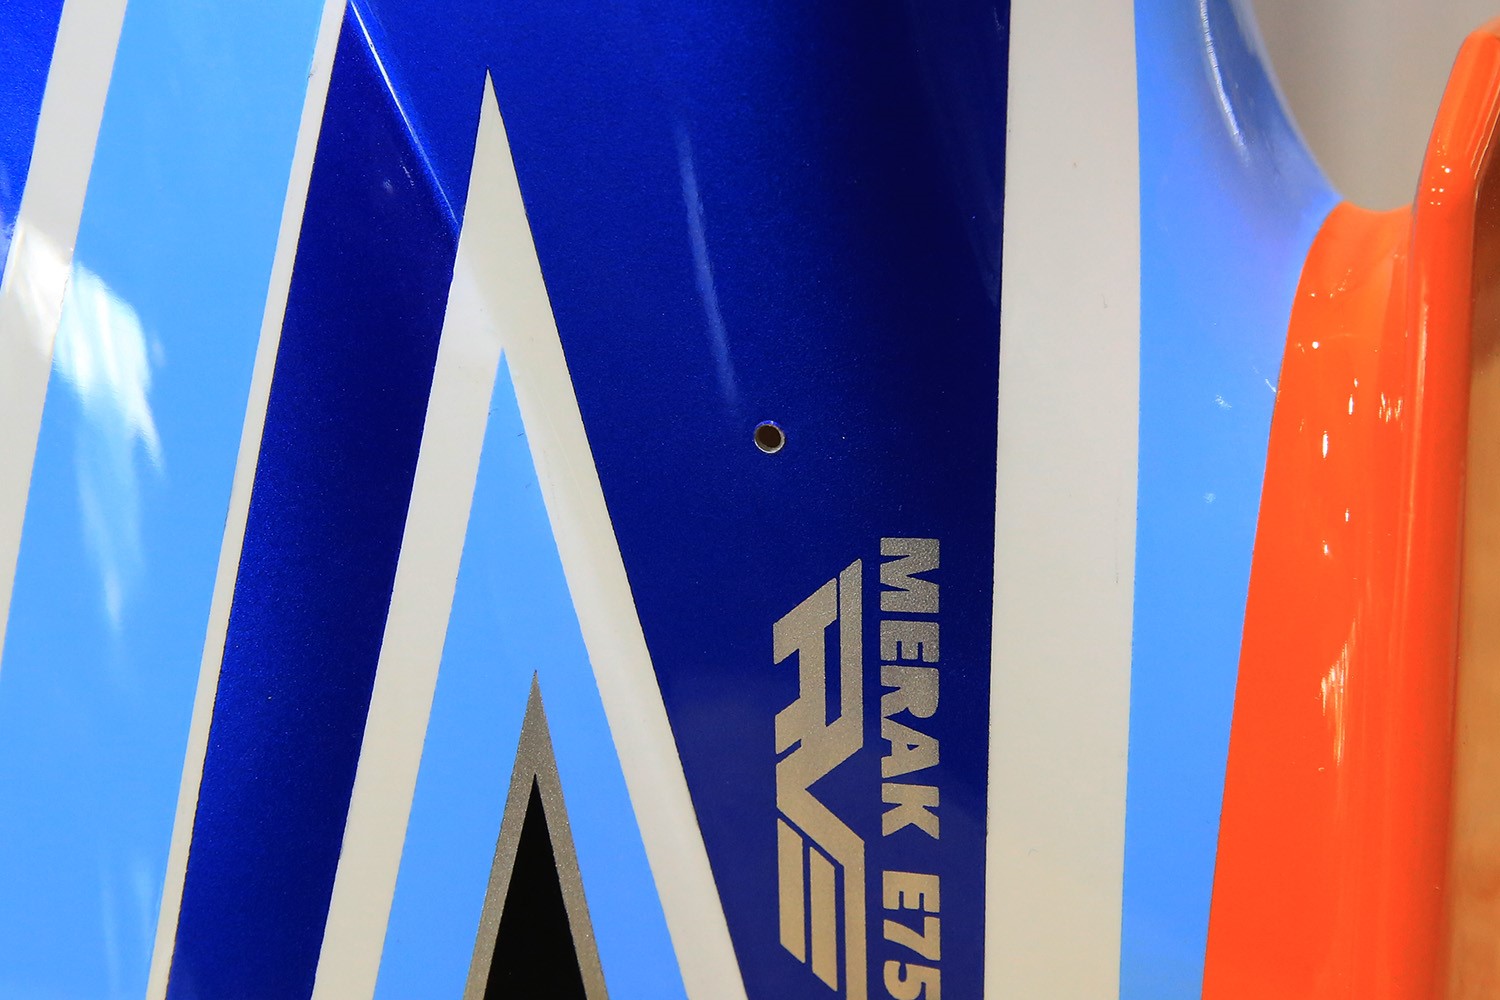
Next we need to install the shell damping column.
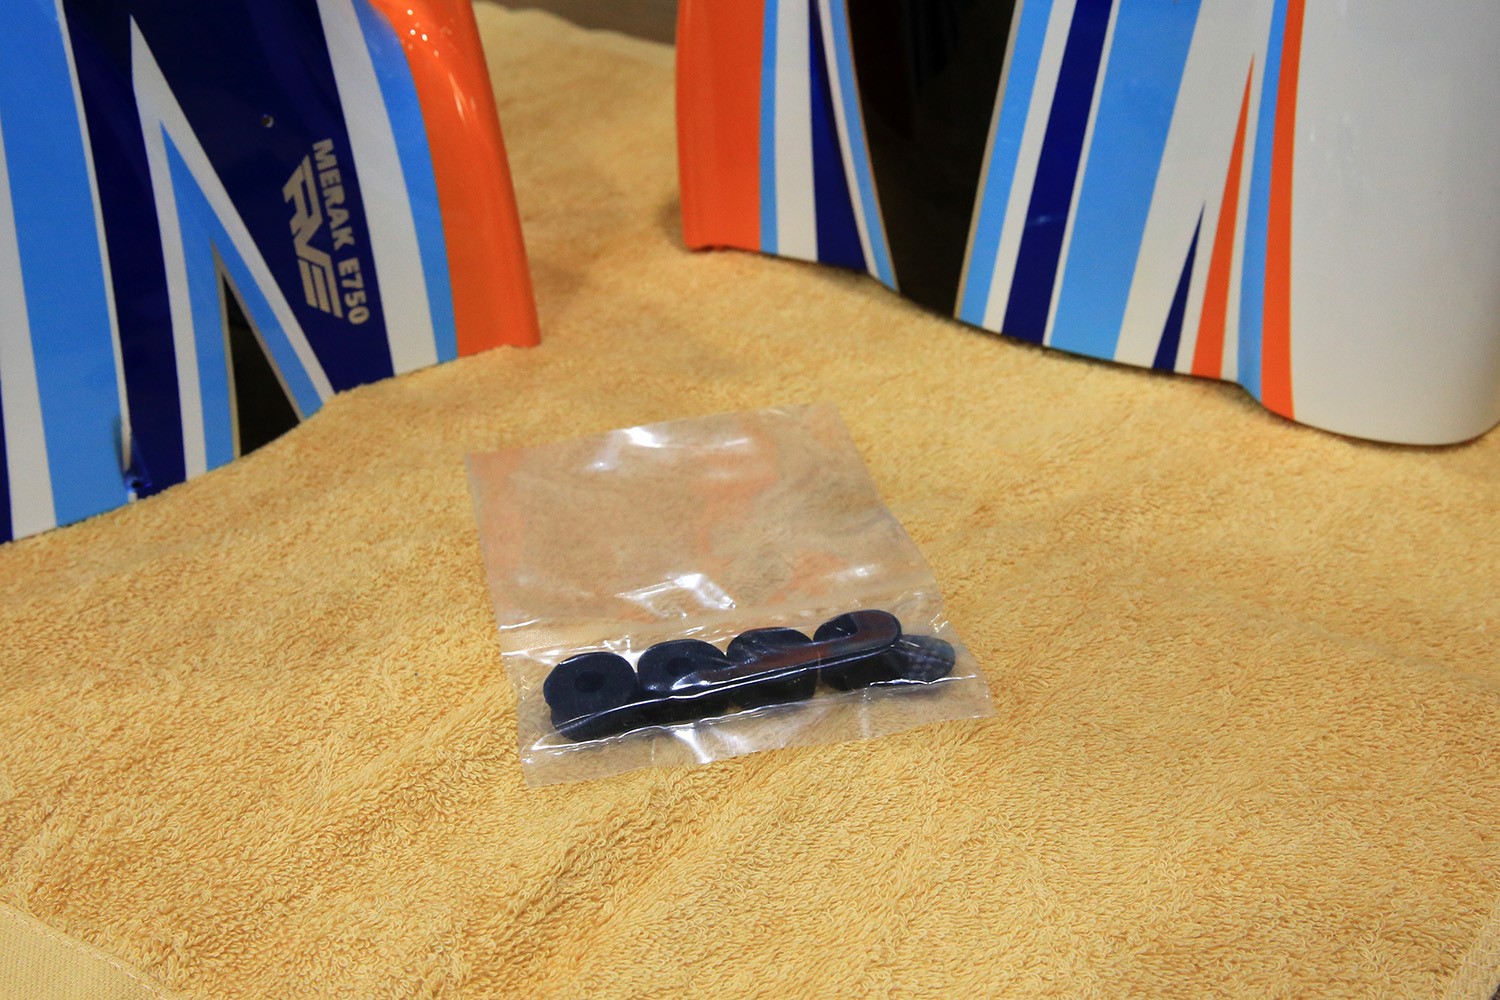
First use CA glue to glue carbon sheets and shock absorbing cotton together.
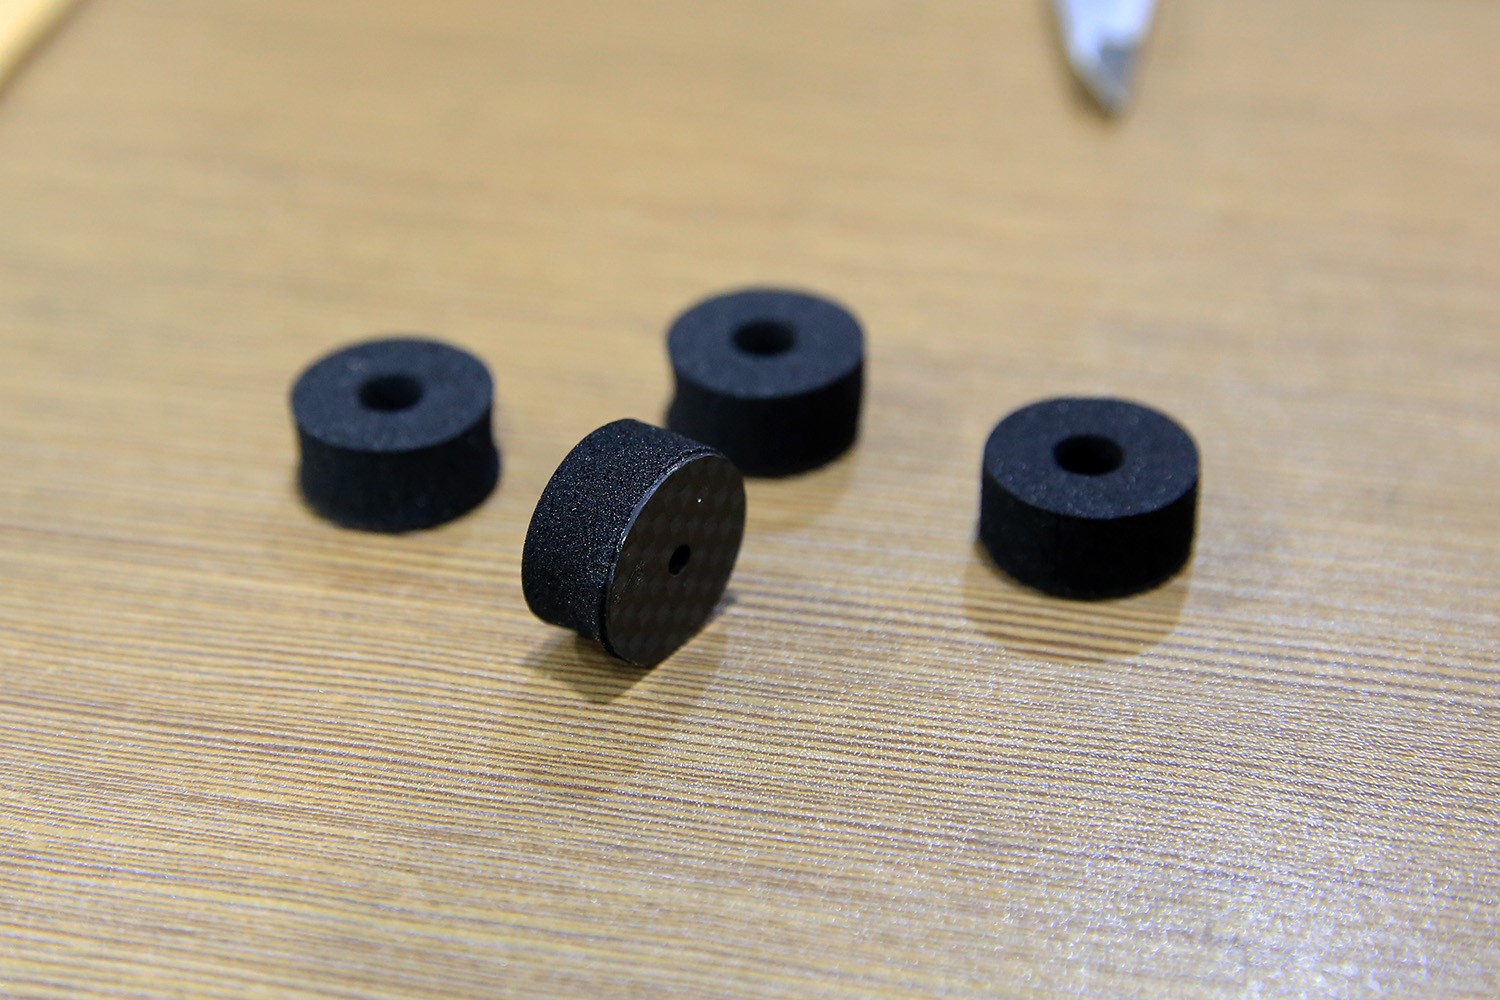
The four 3*8MM inner six corner screws must be placed in the cushioning pad first.
Then CA glue was applied to the BODY opening.
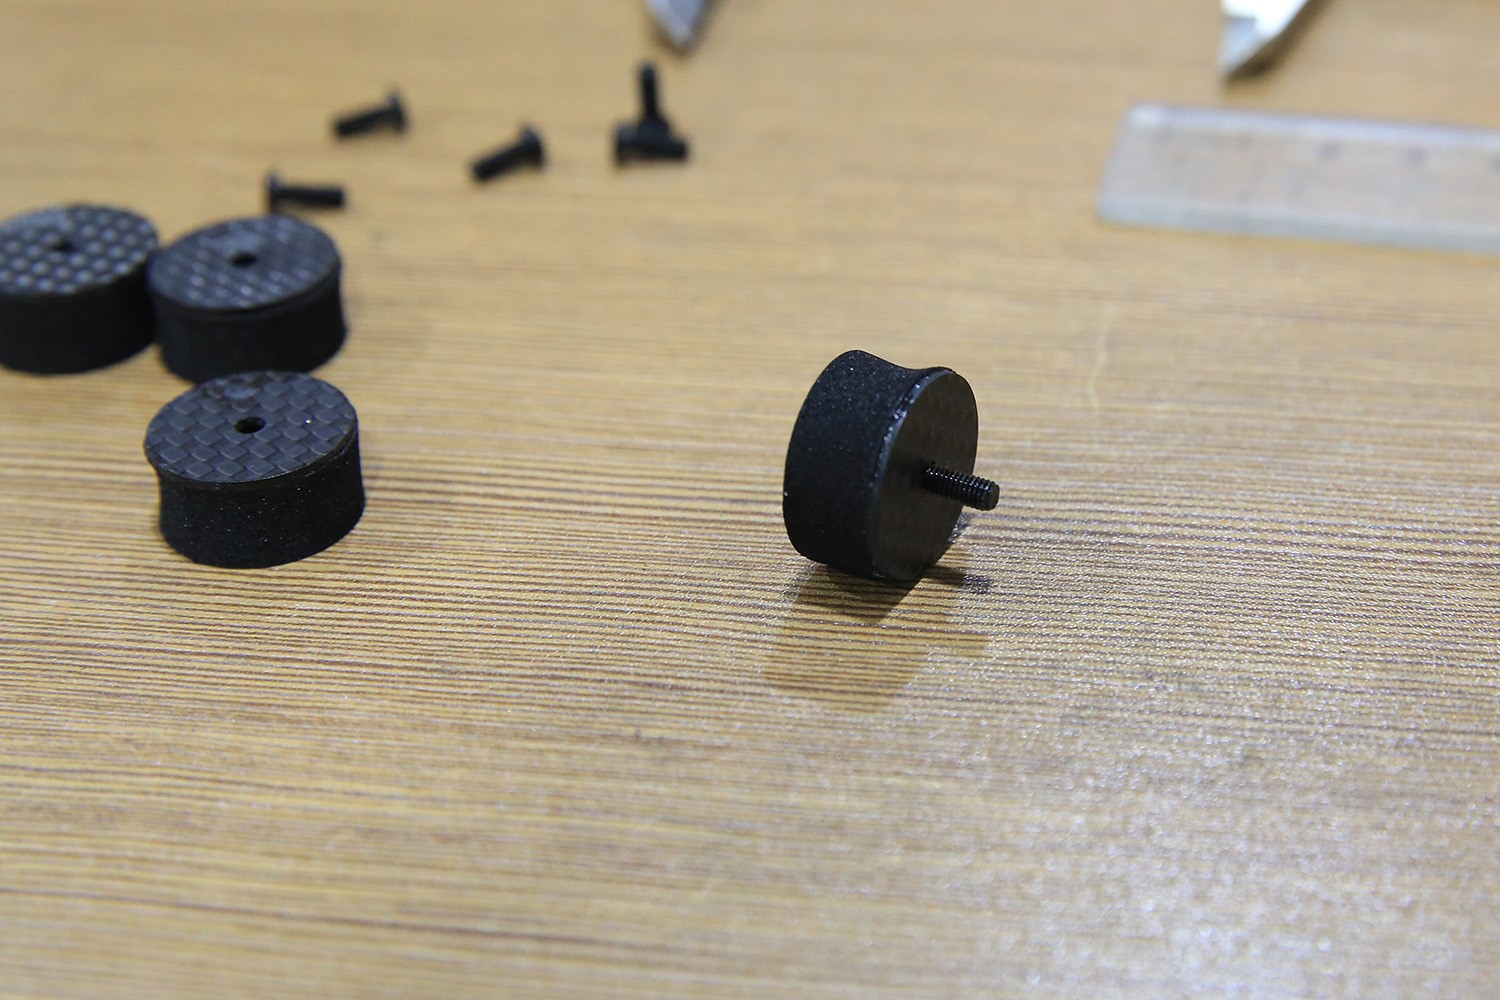
BODY can be used in class 700-800 helicopters.
If installed on E750 HELI, BODY needs repairing at the back.
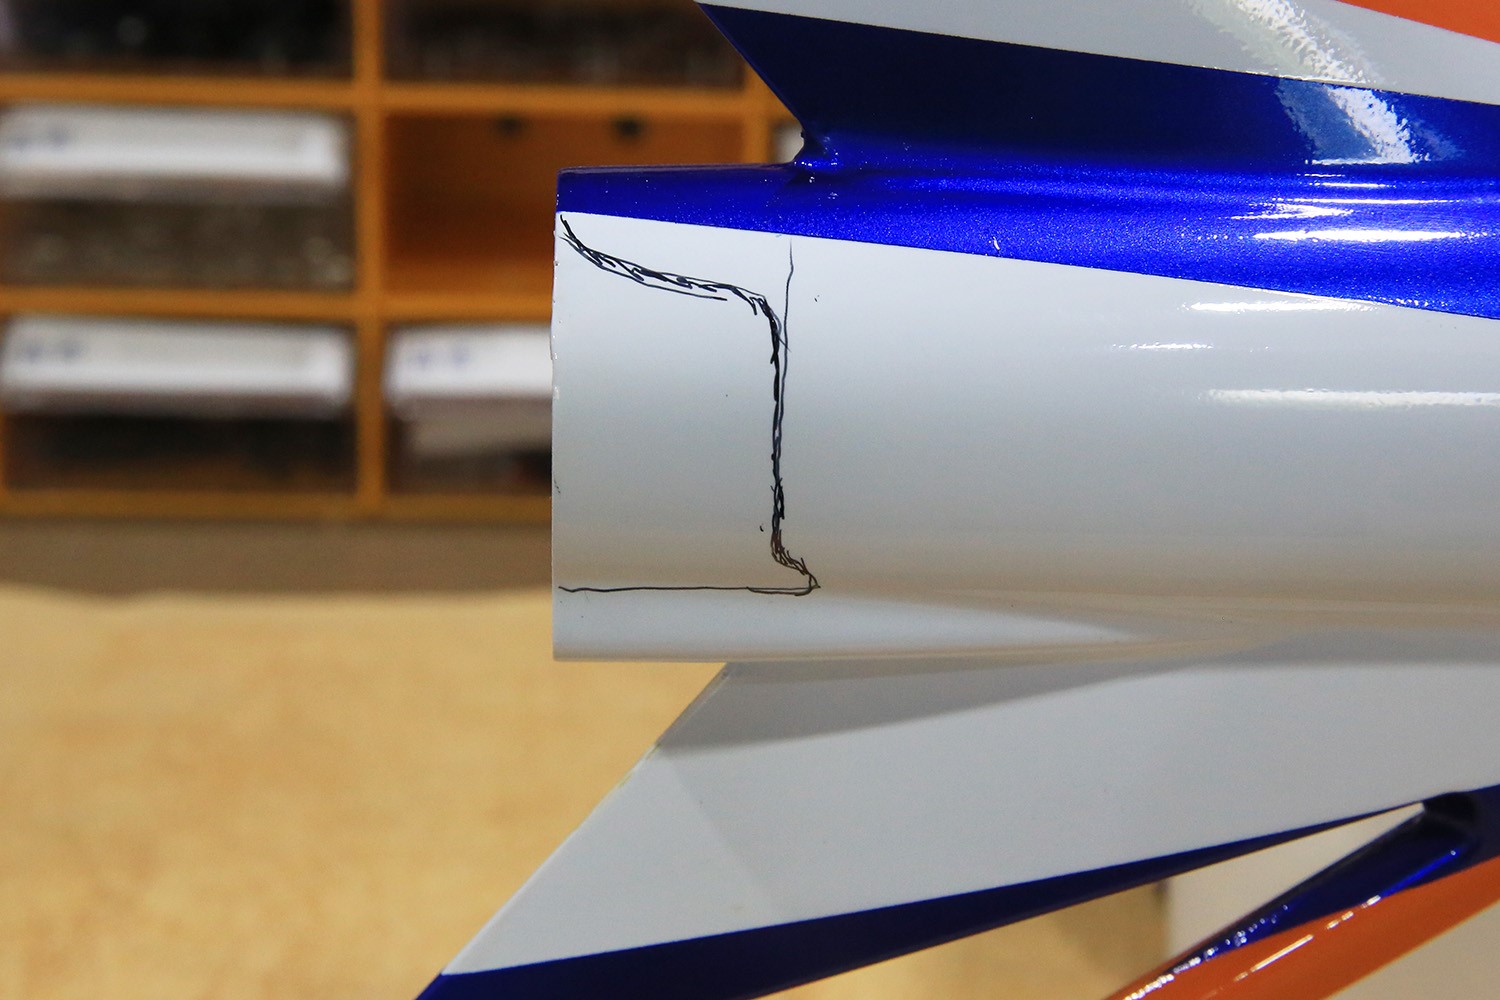
]
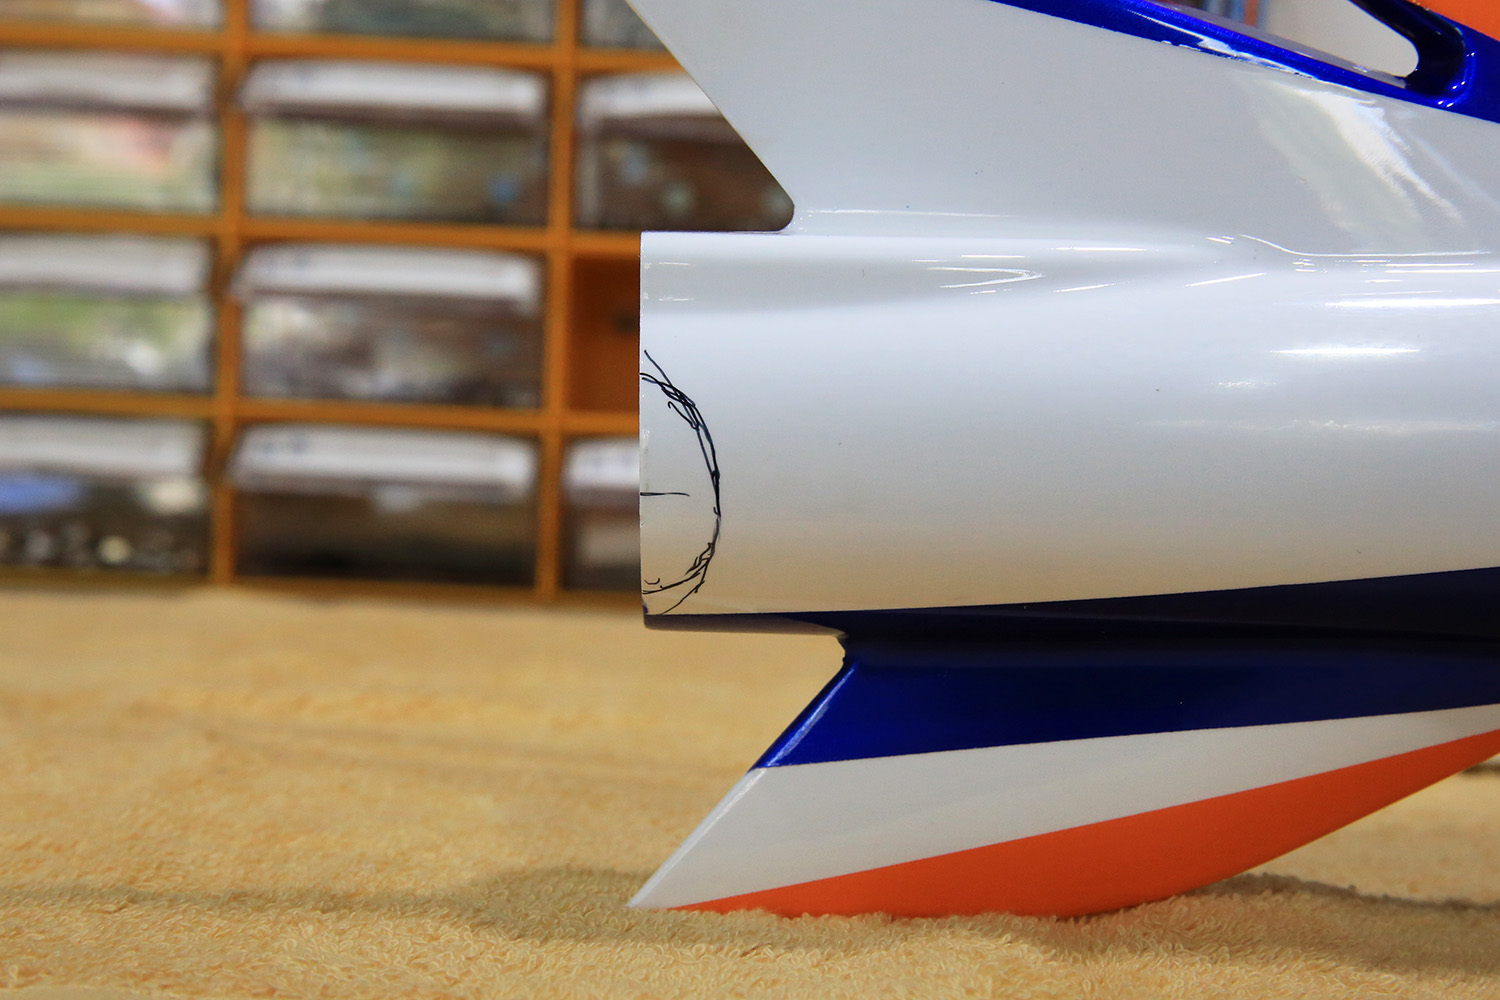
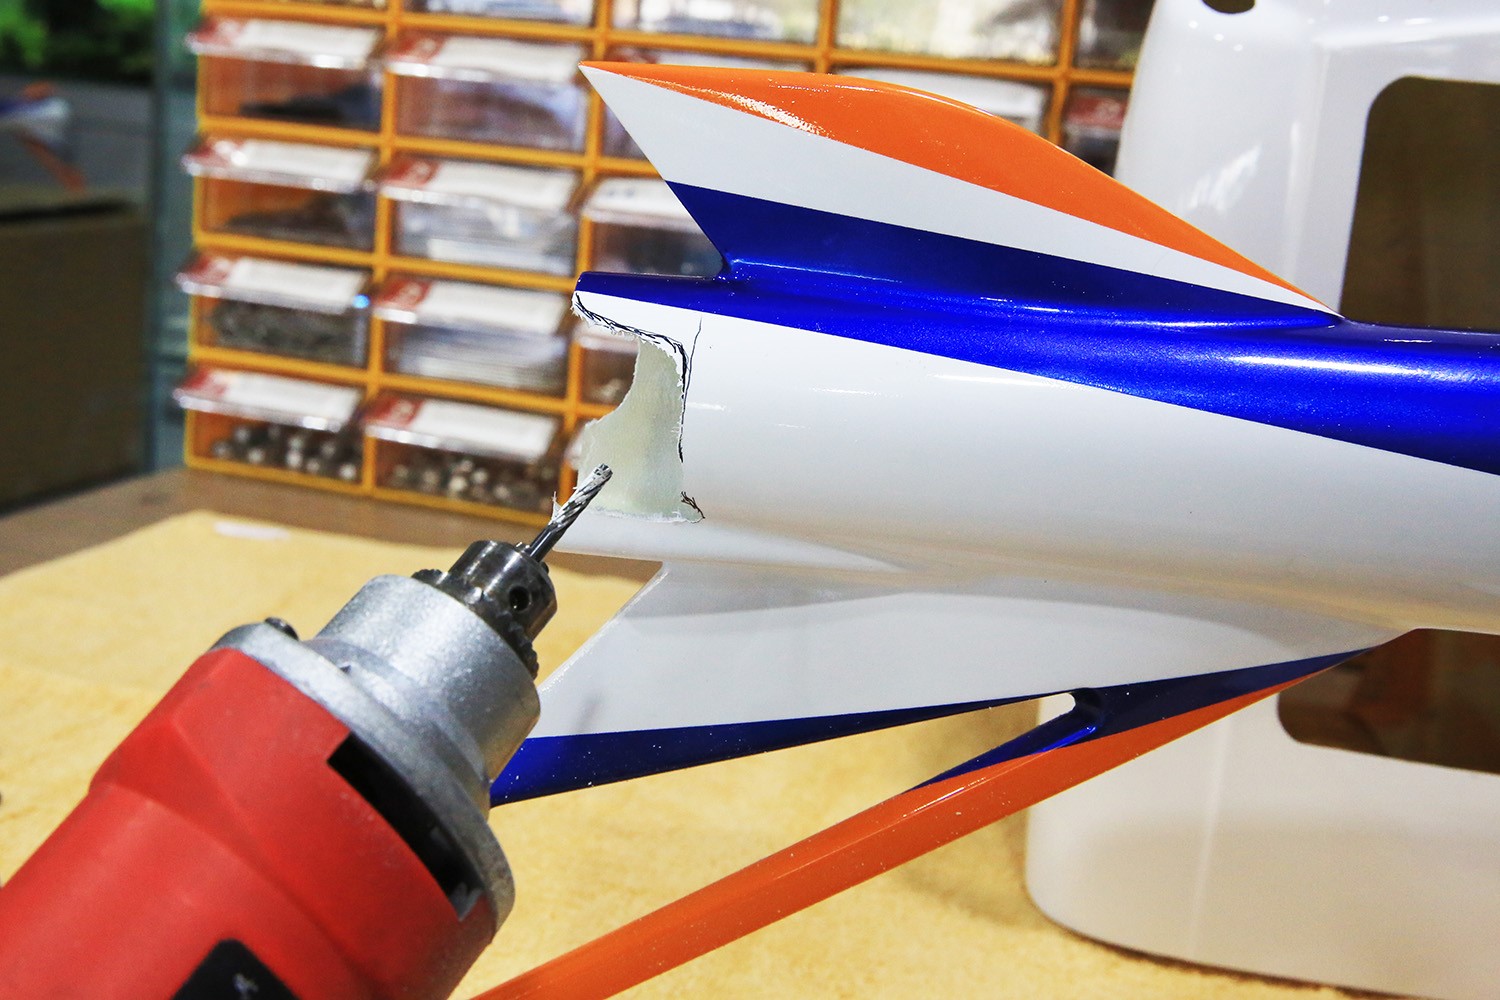
First use electric mill to open holes.
Next, sanding and smoothing with sandpaper.
This position needs to open two round holes, first draw the standard line according to the instruction manual, then use the hole opener to drill.
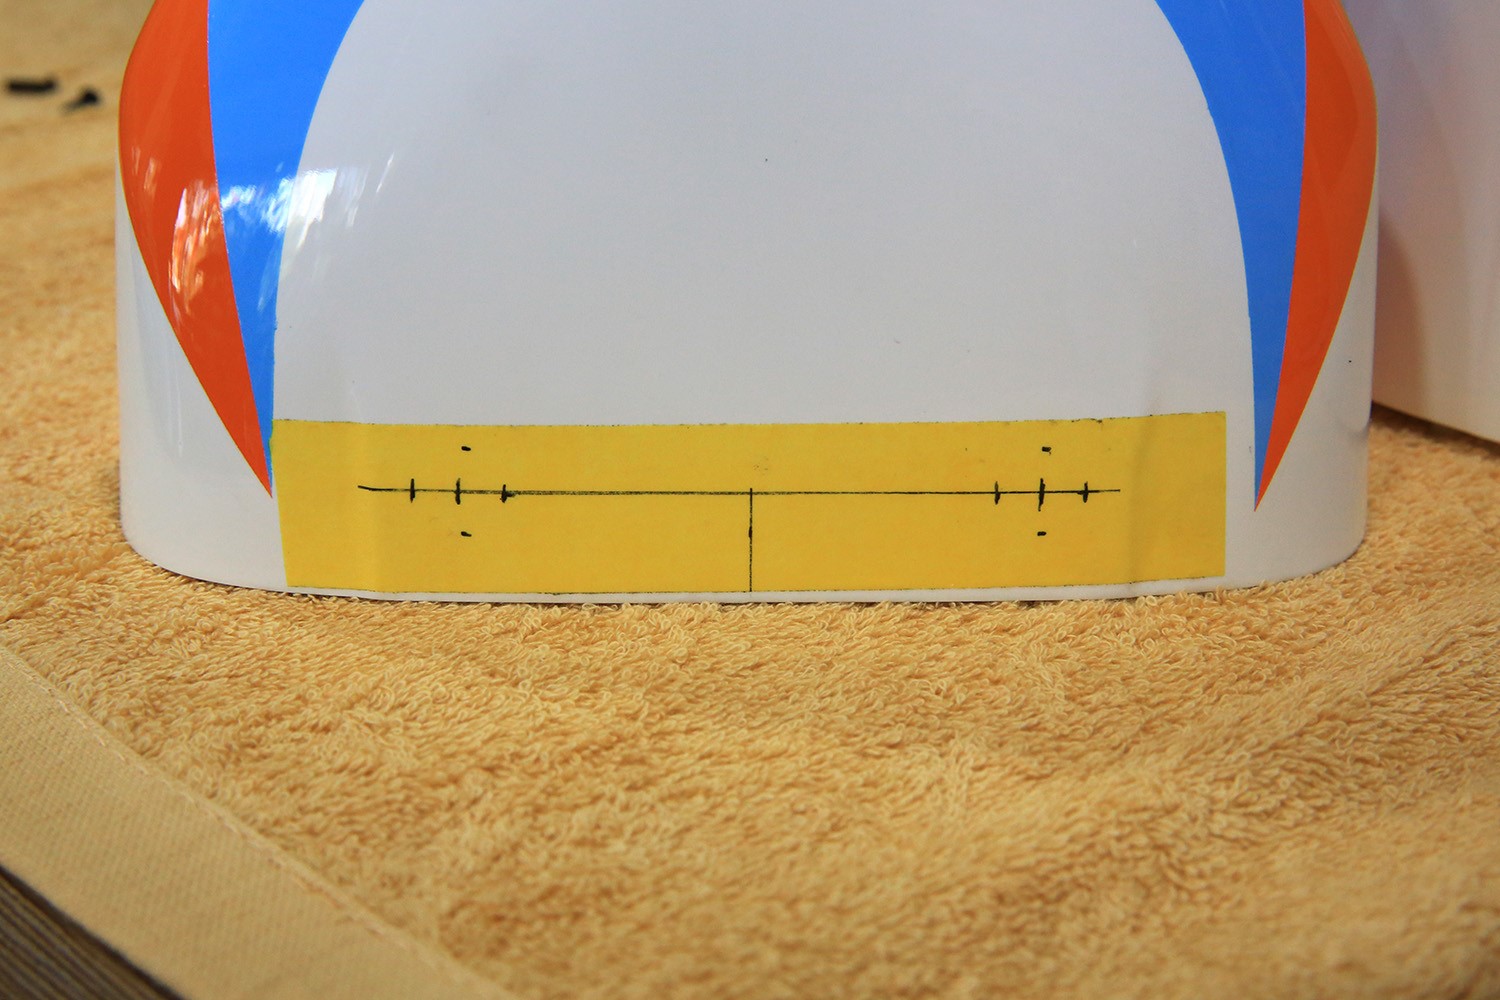
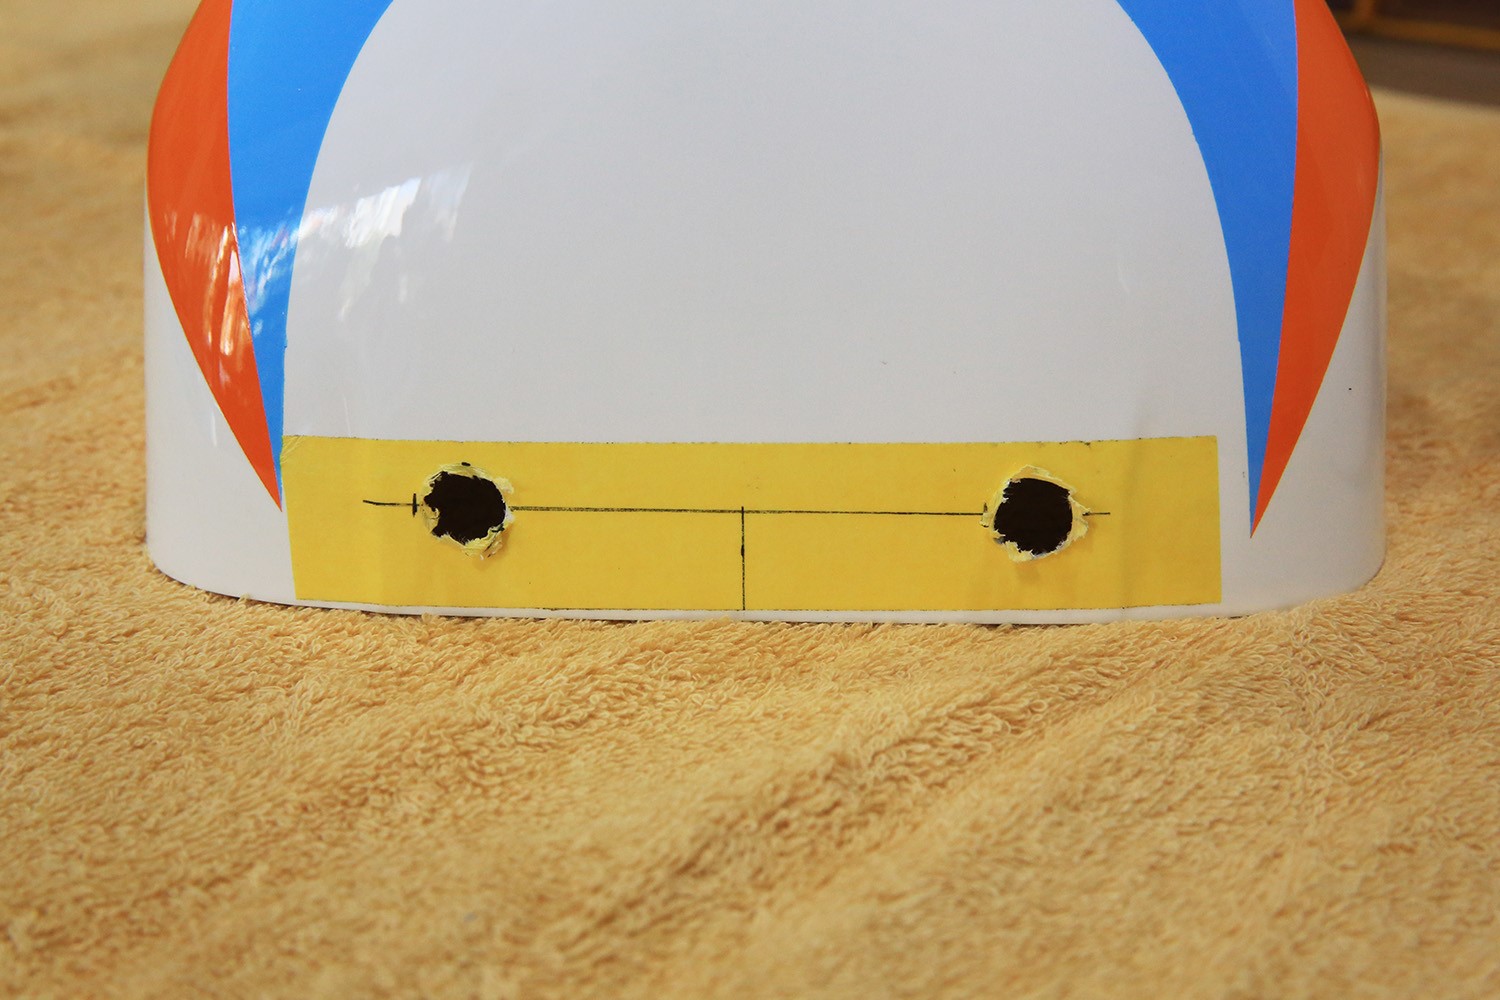
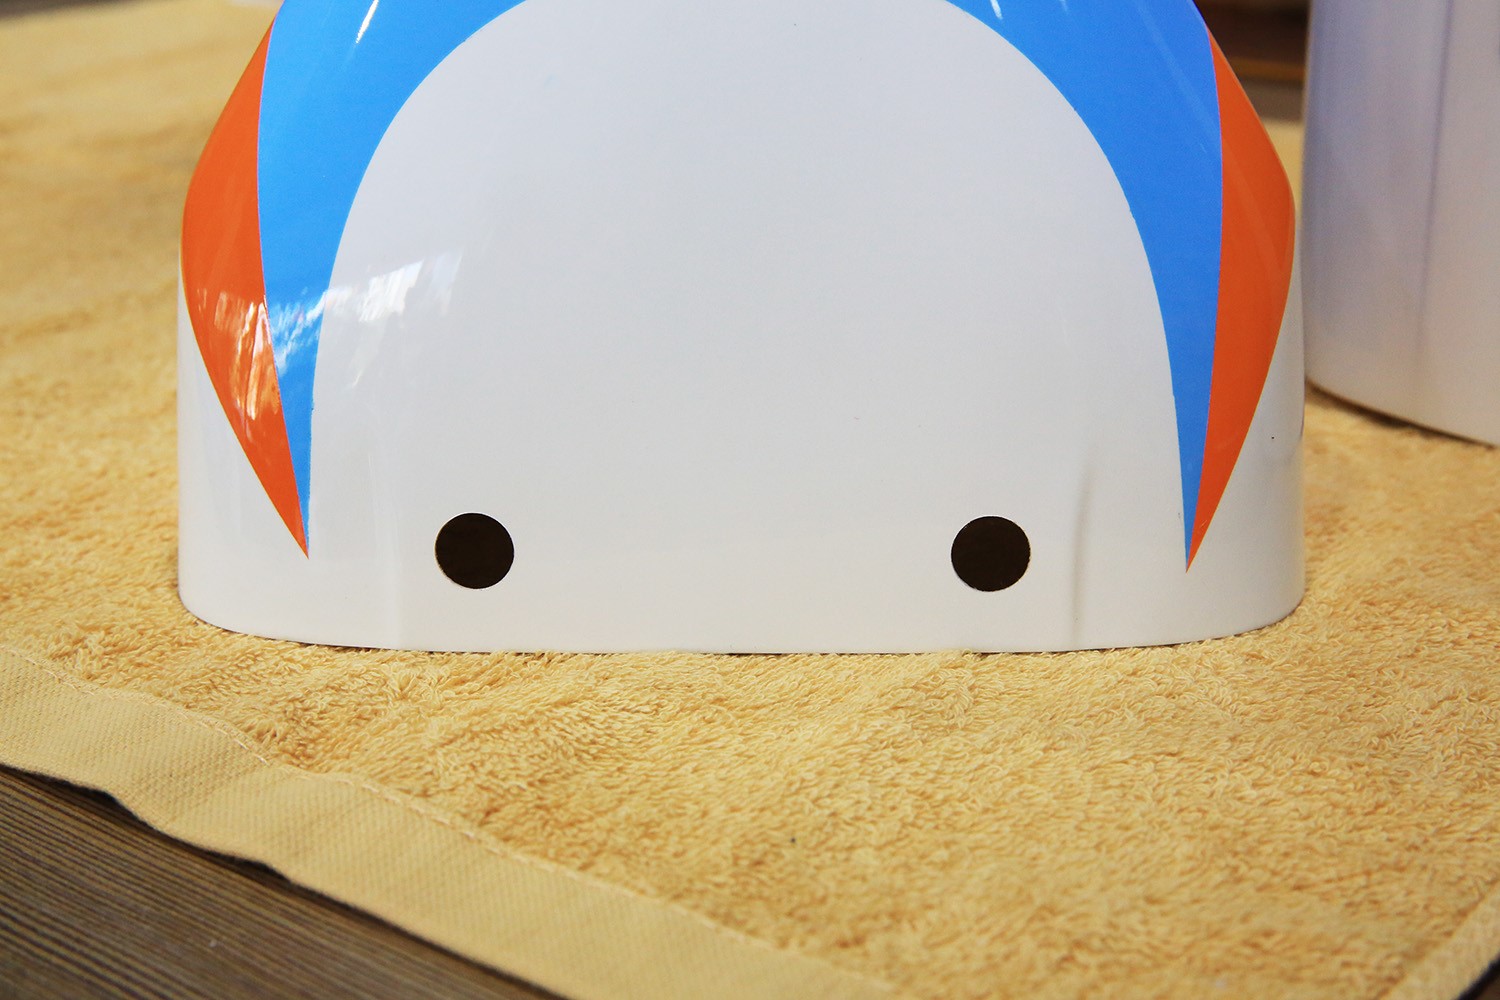
The front part of the BODY also needs to open two slots, otherwise the foot pad shock pad will interfere with the BODY installation.
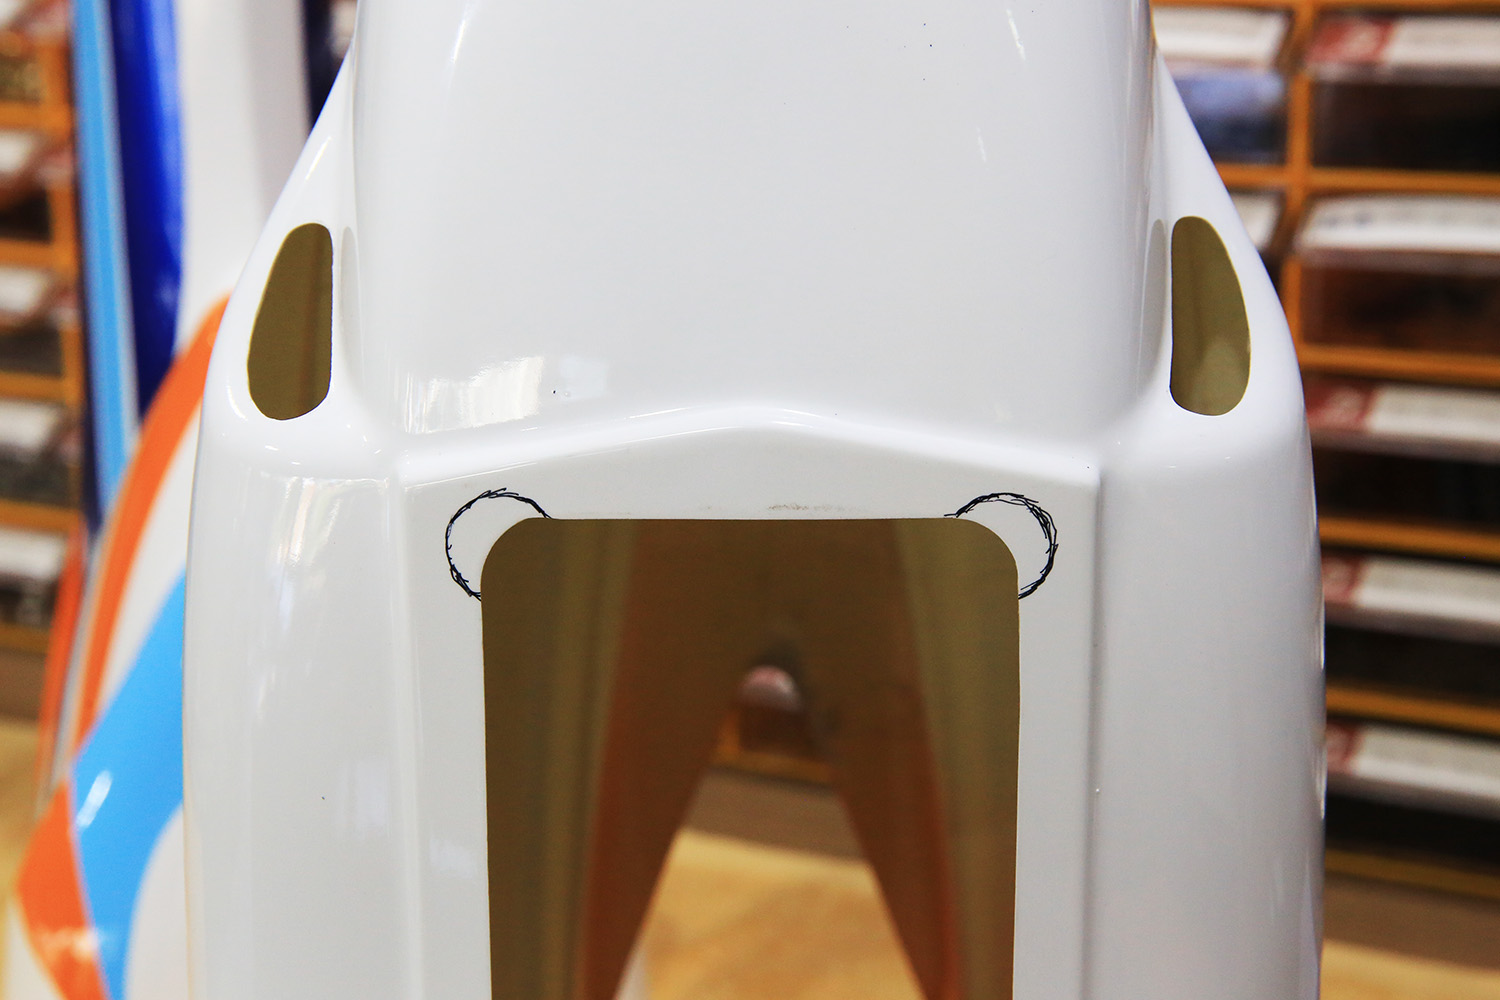
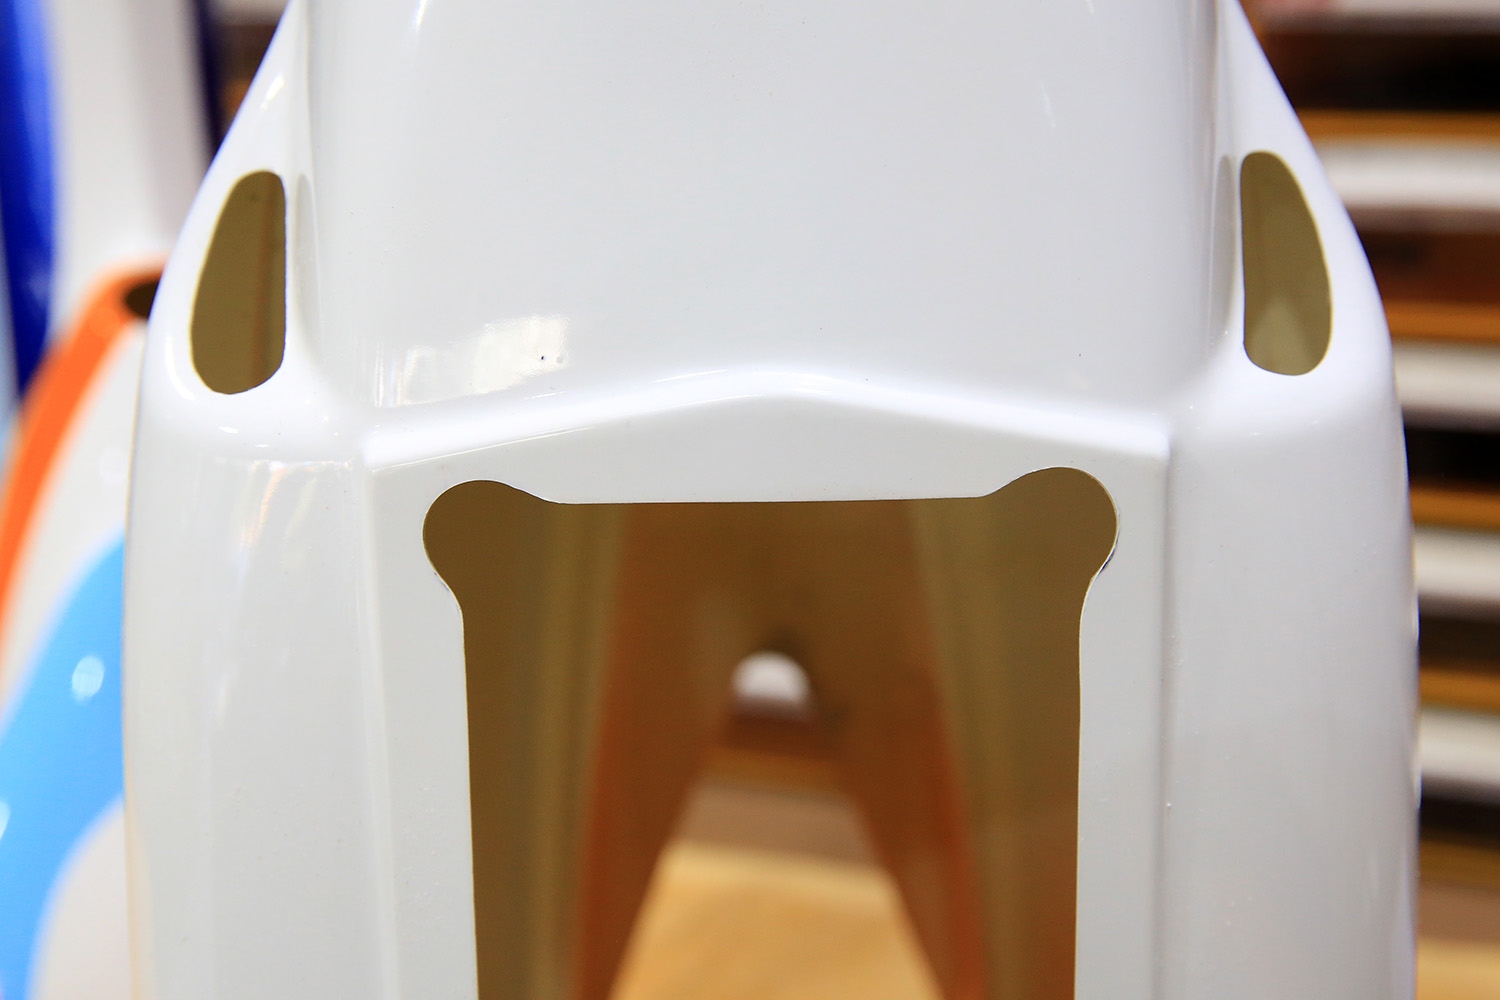
Support sponge at the rear of the housing.
Notice from the rear that the hole on the sea is on the right side, not on the right side.
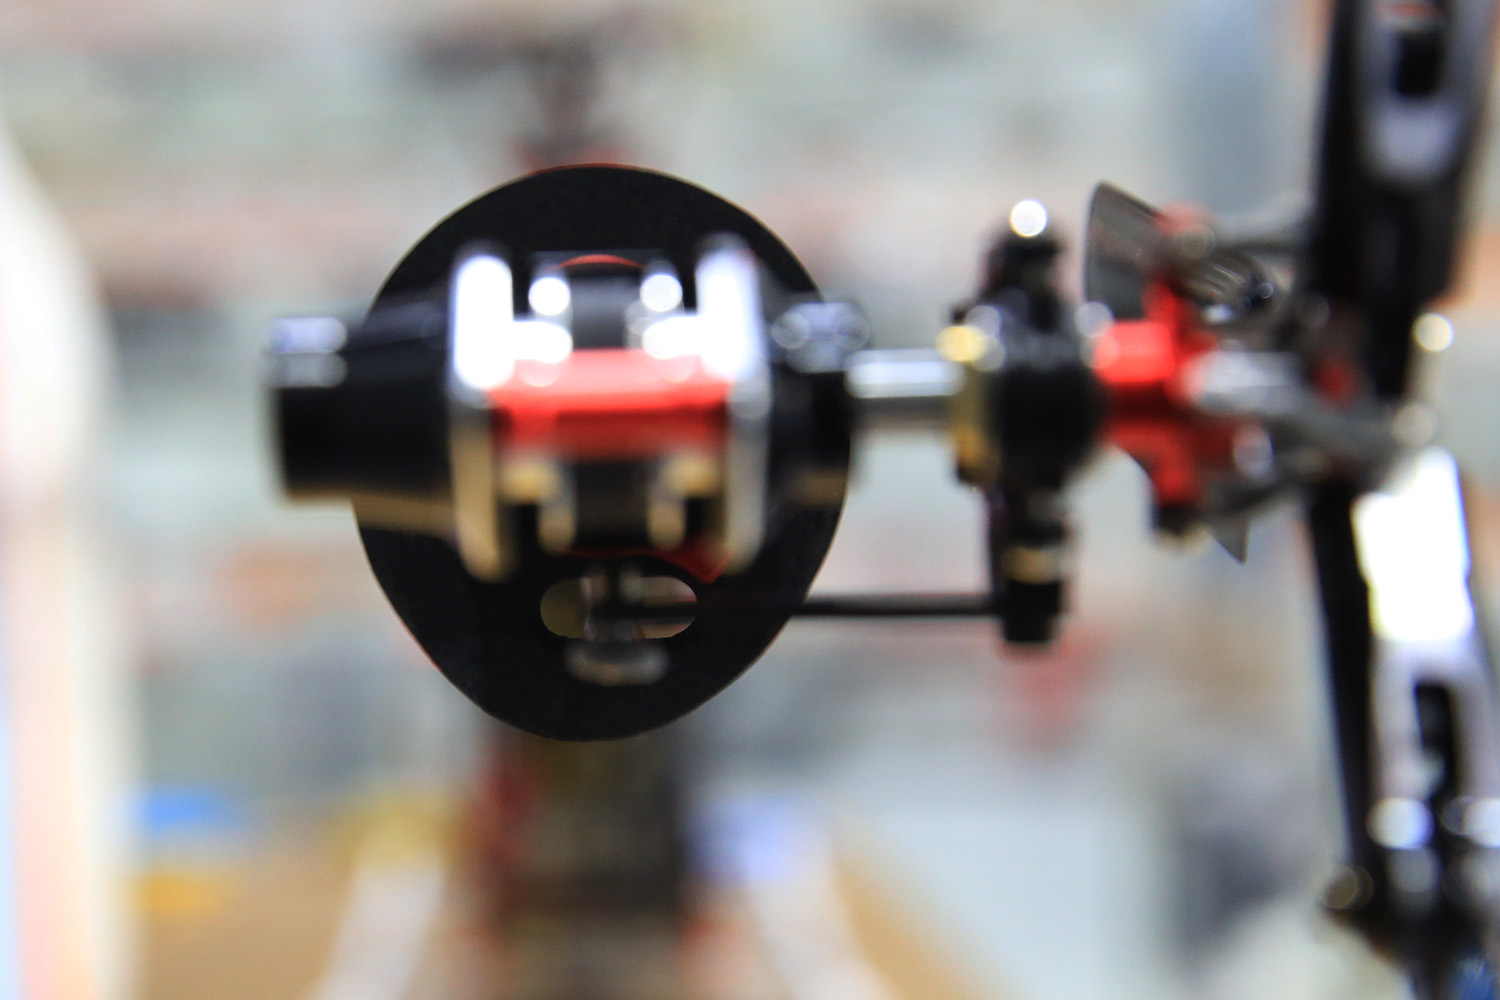
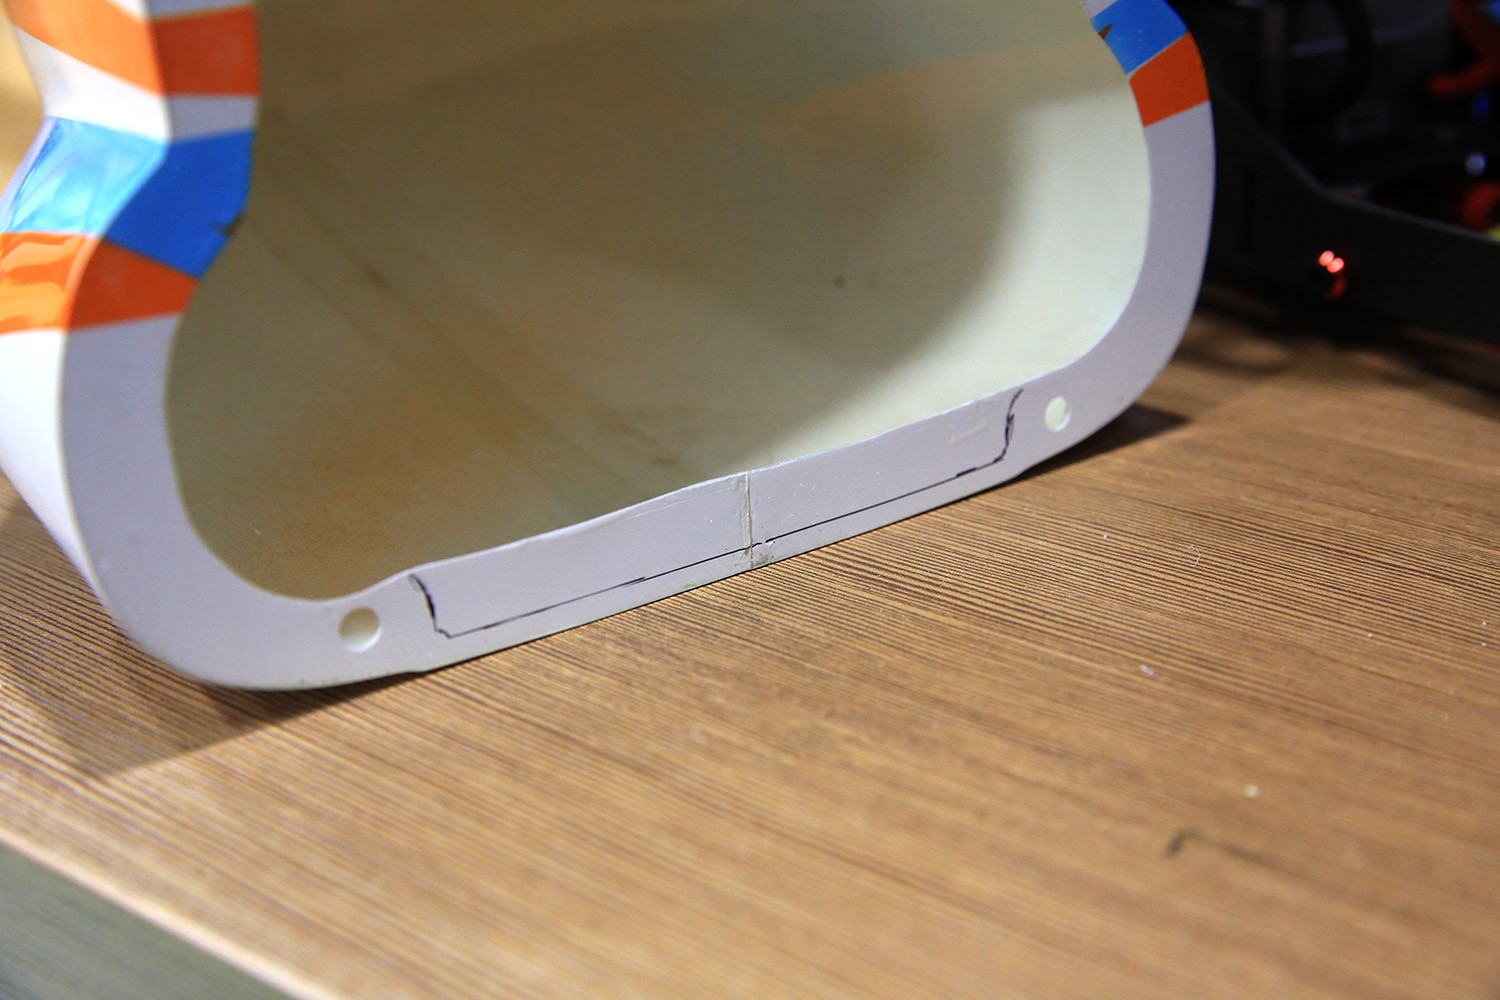
This position should be cut off, otherwise it will affect the installation of side panels.
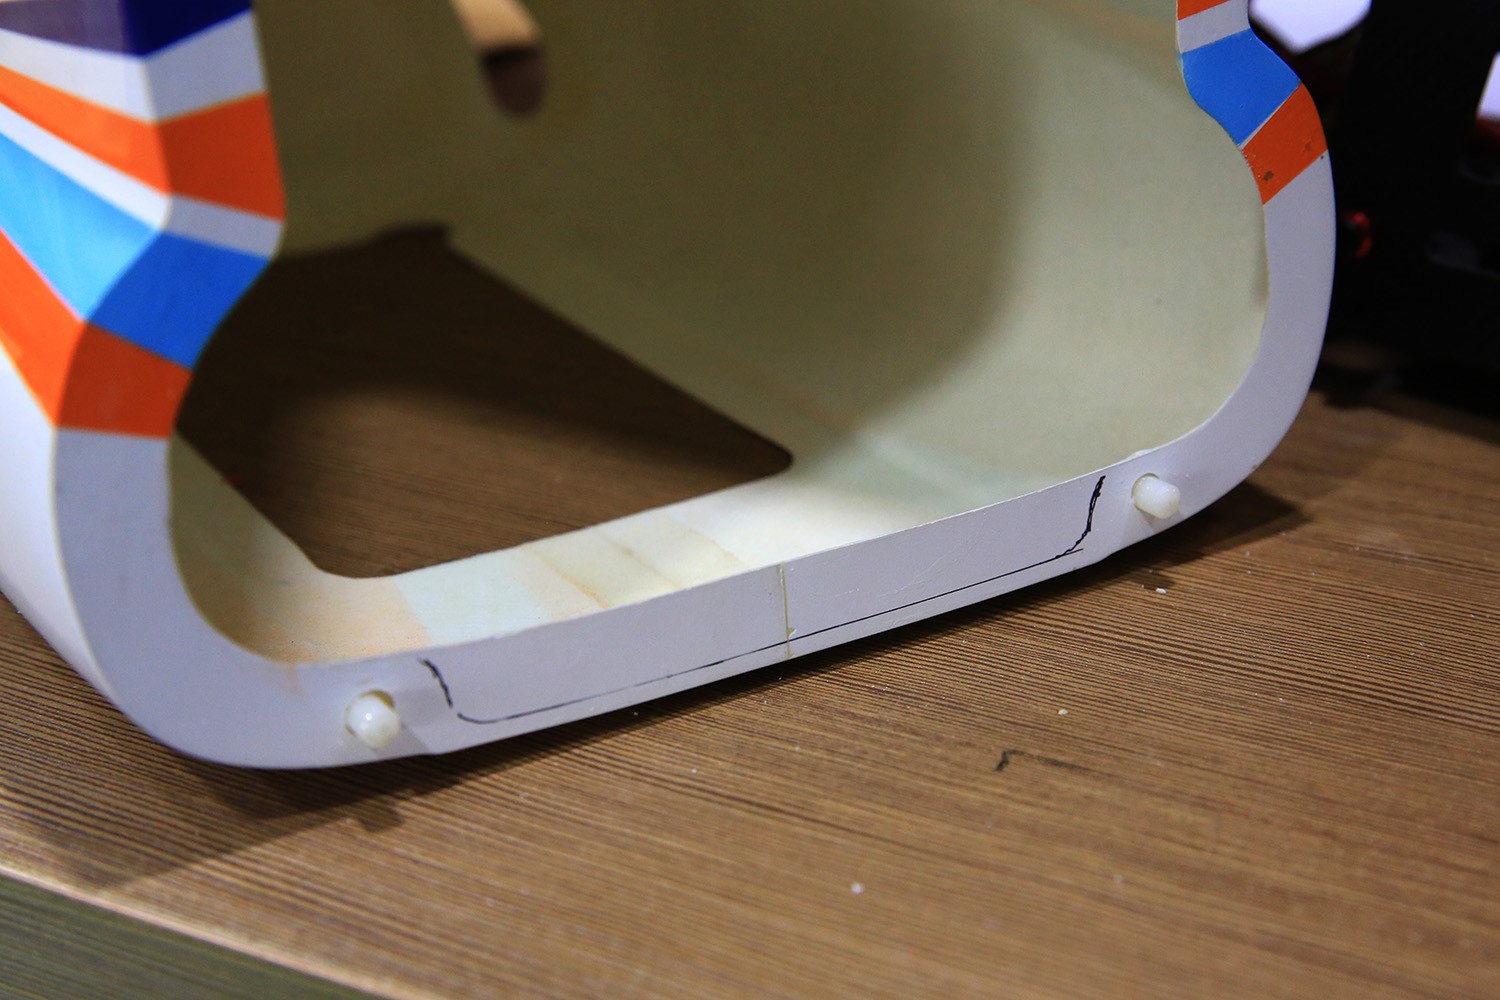
This position should be cut off, otherwise it will affect the installation of side panels.
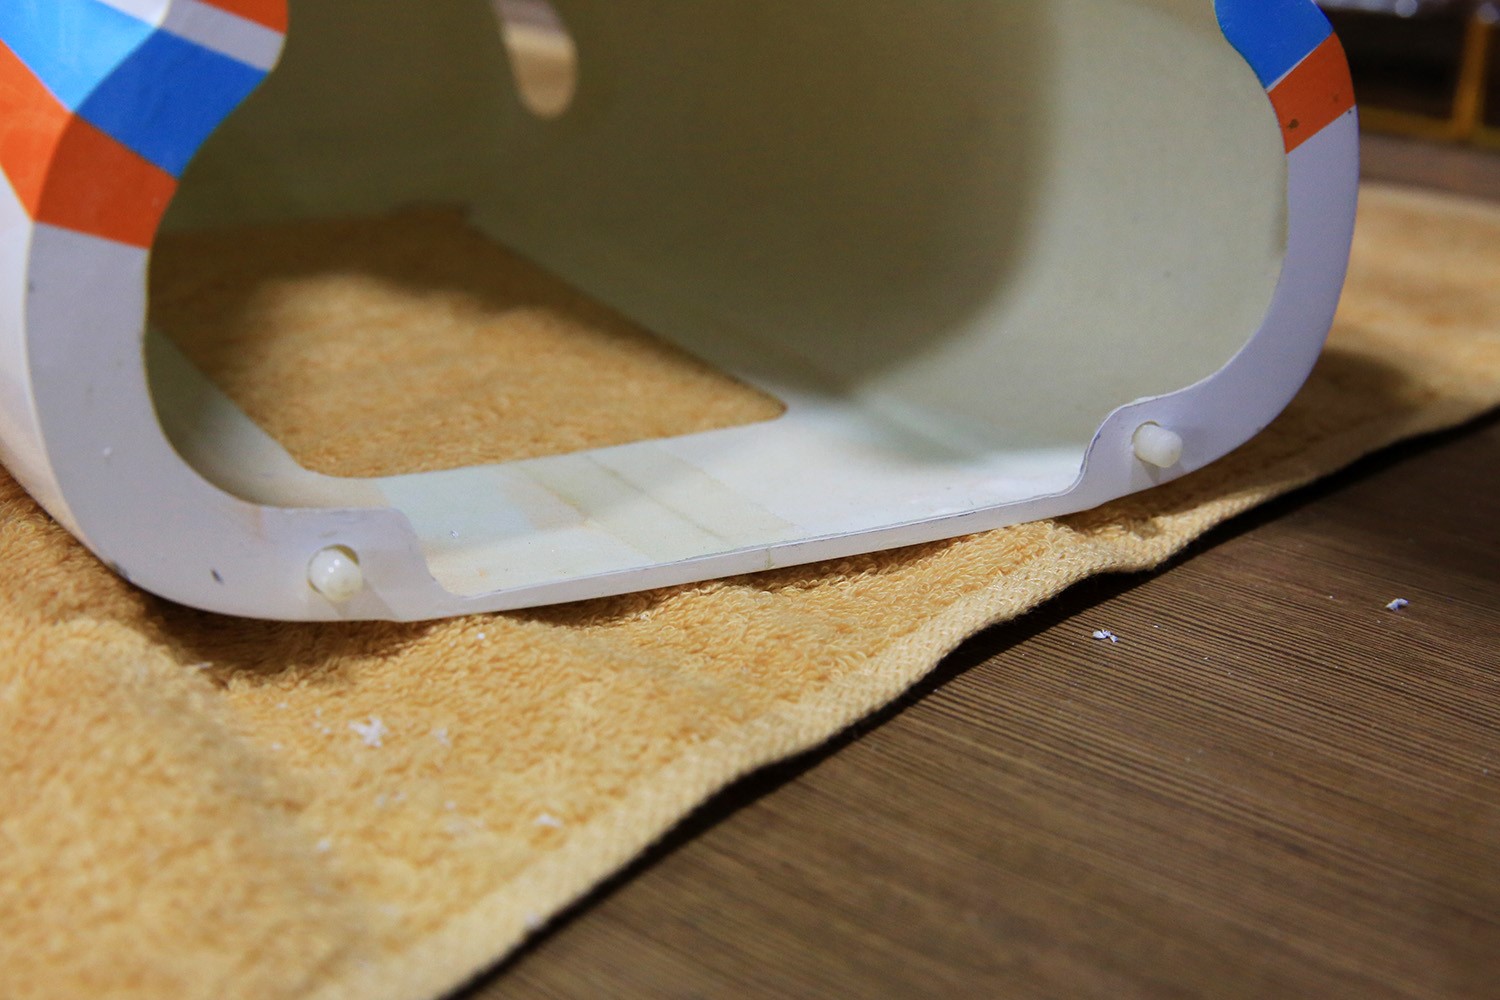
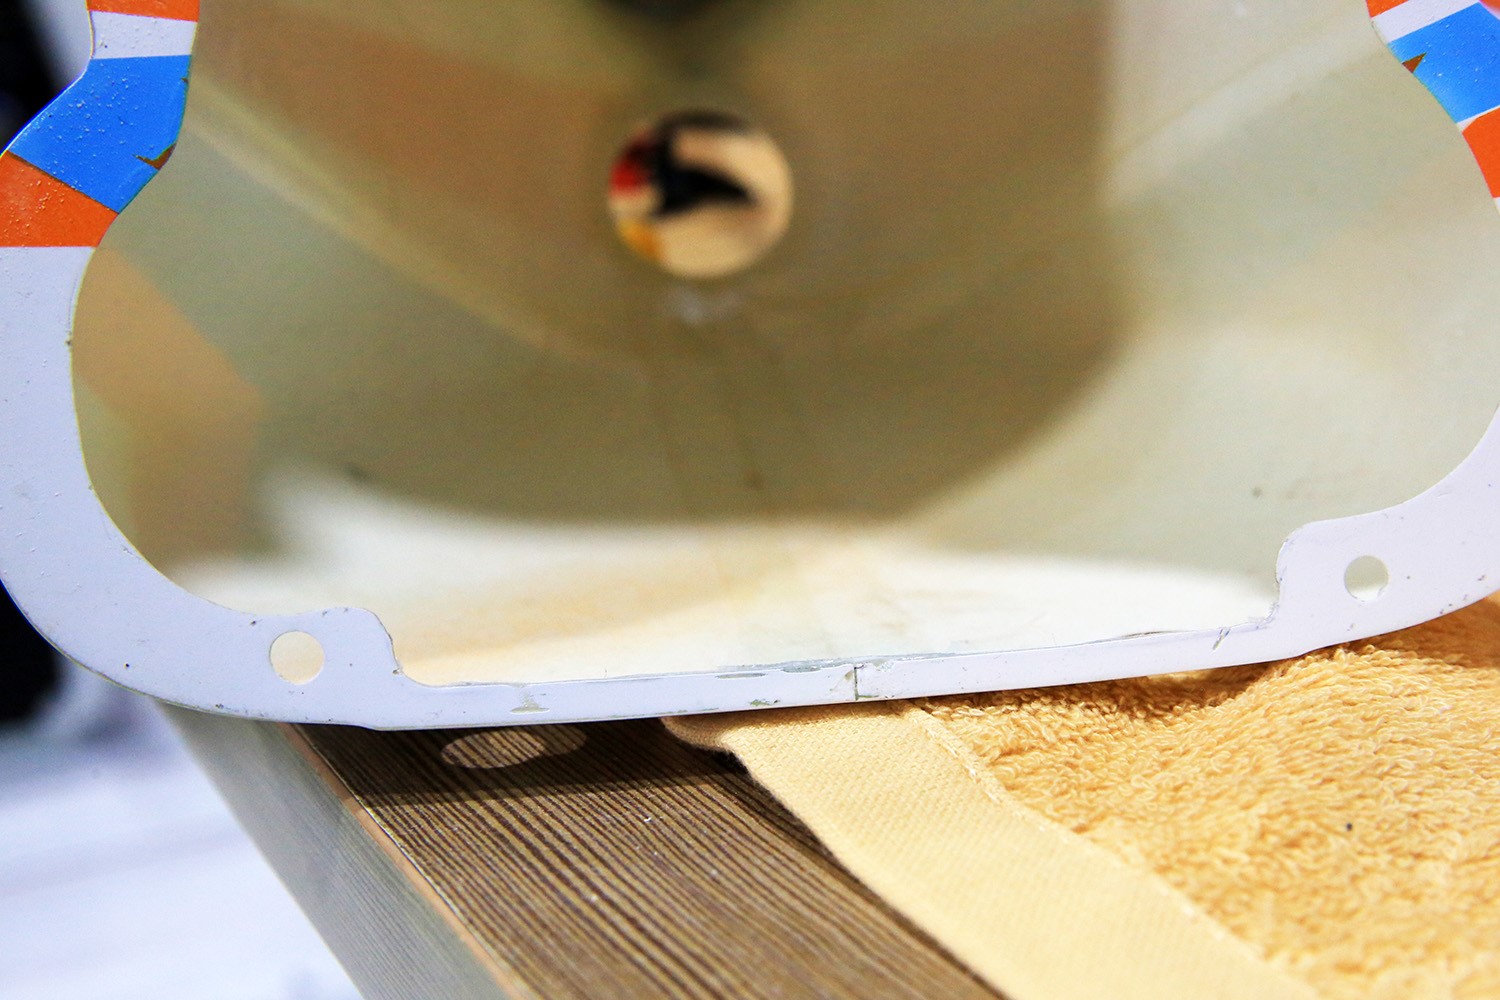
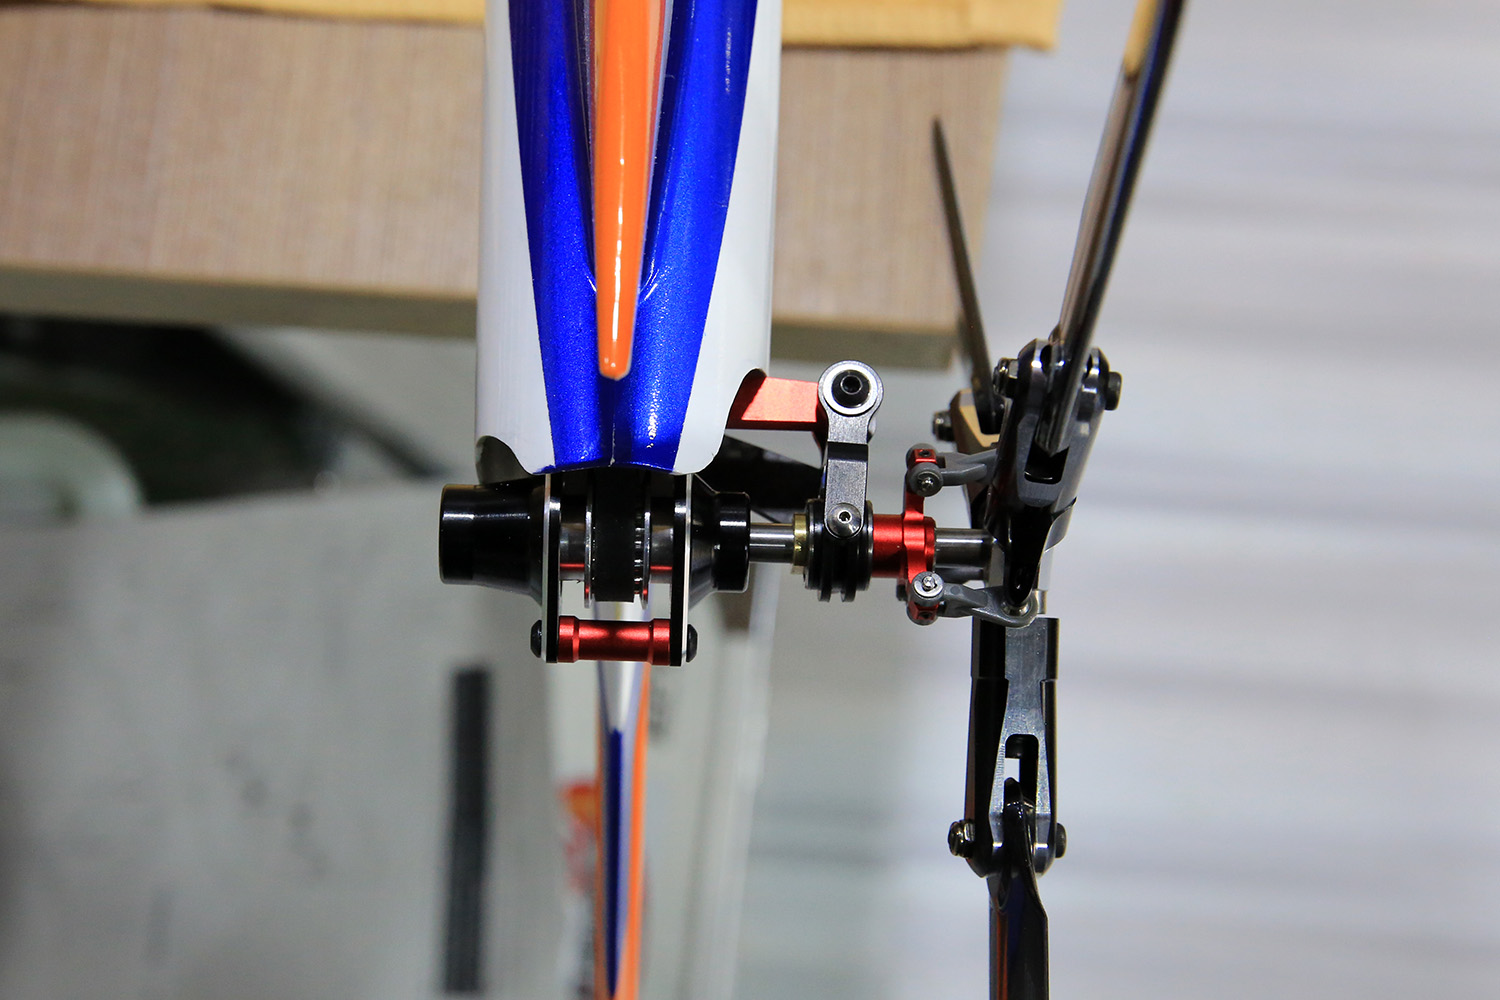
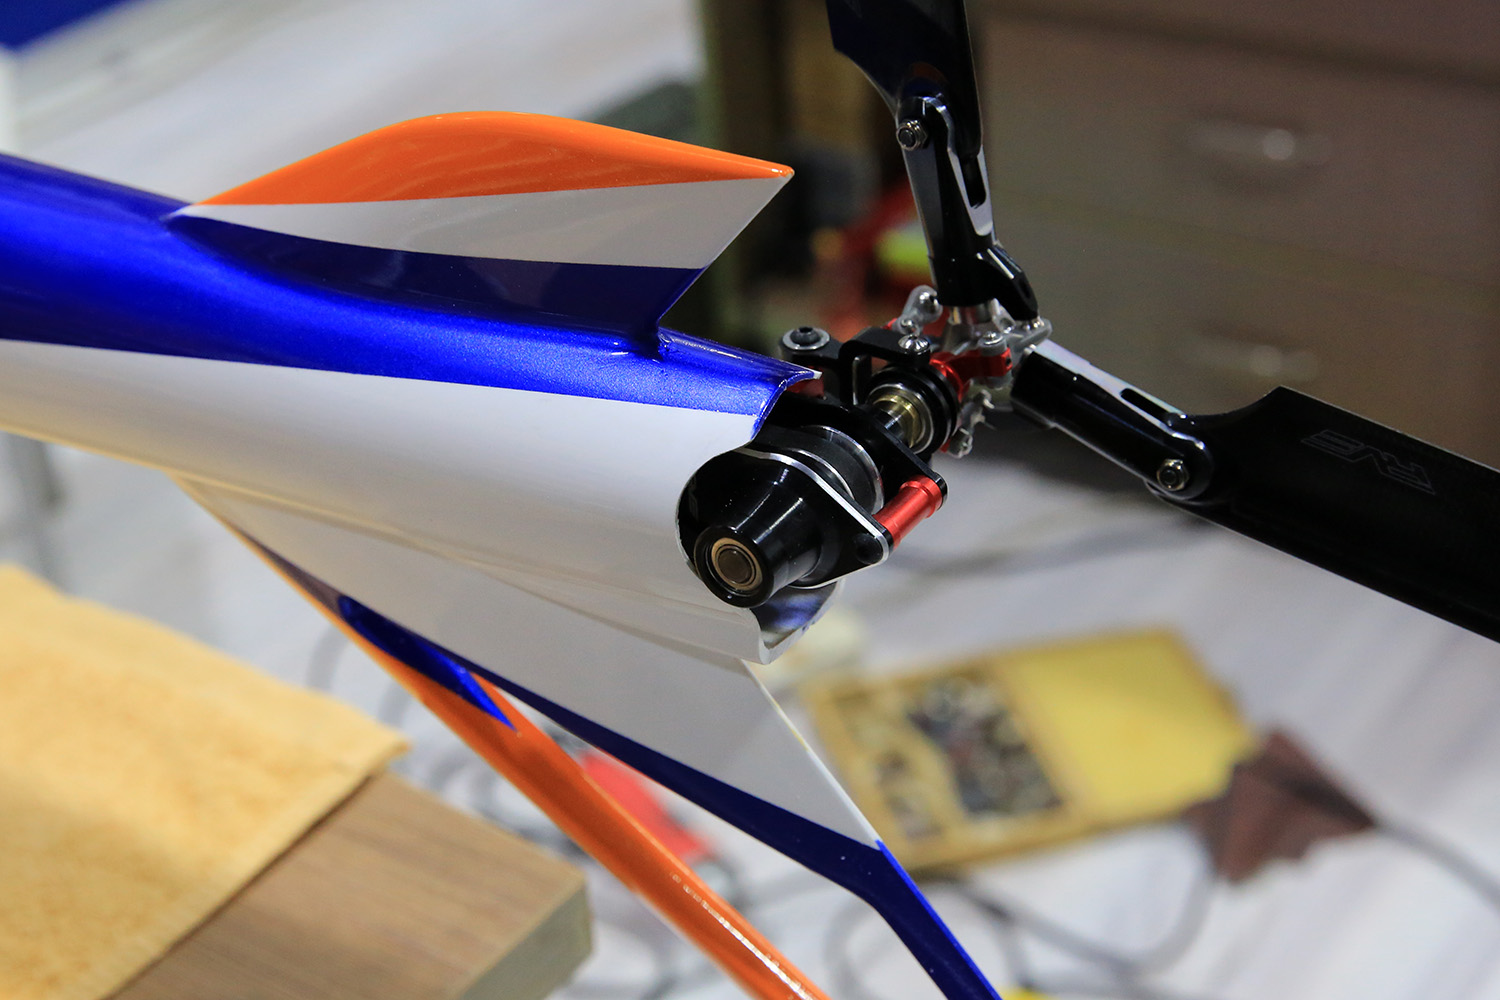
Install BODY on MERAK. Look at the size of these holes.
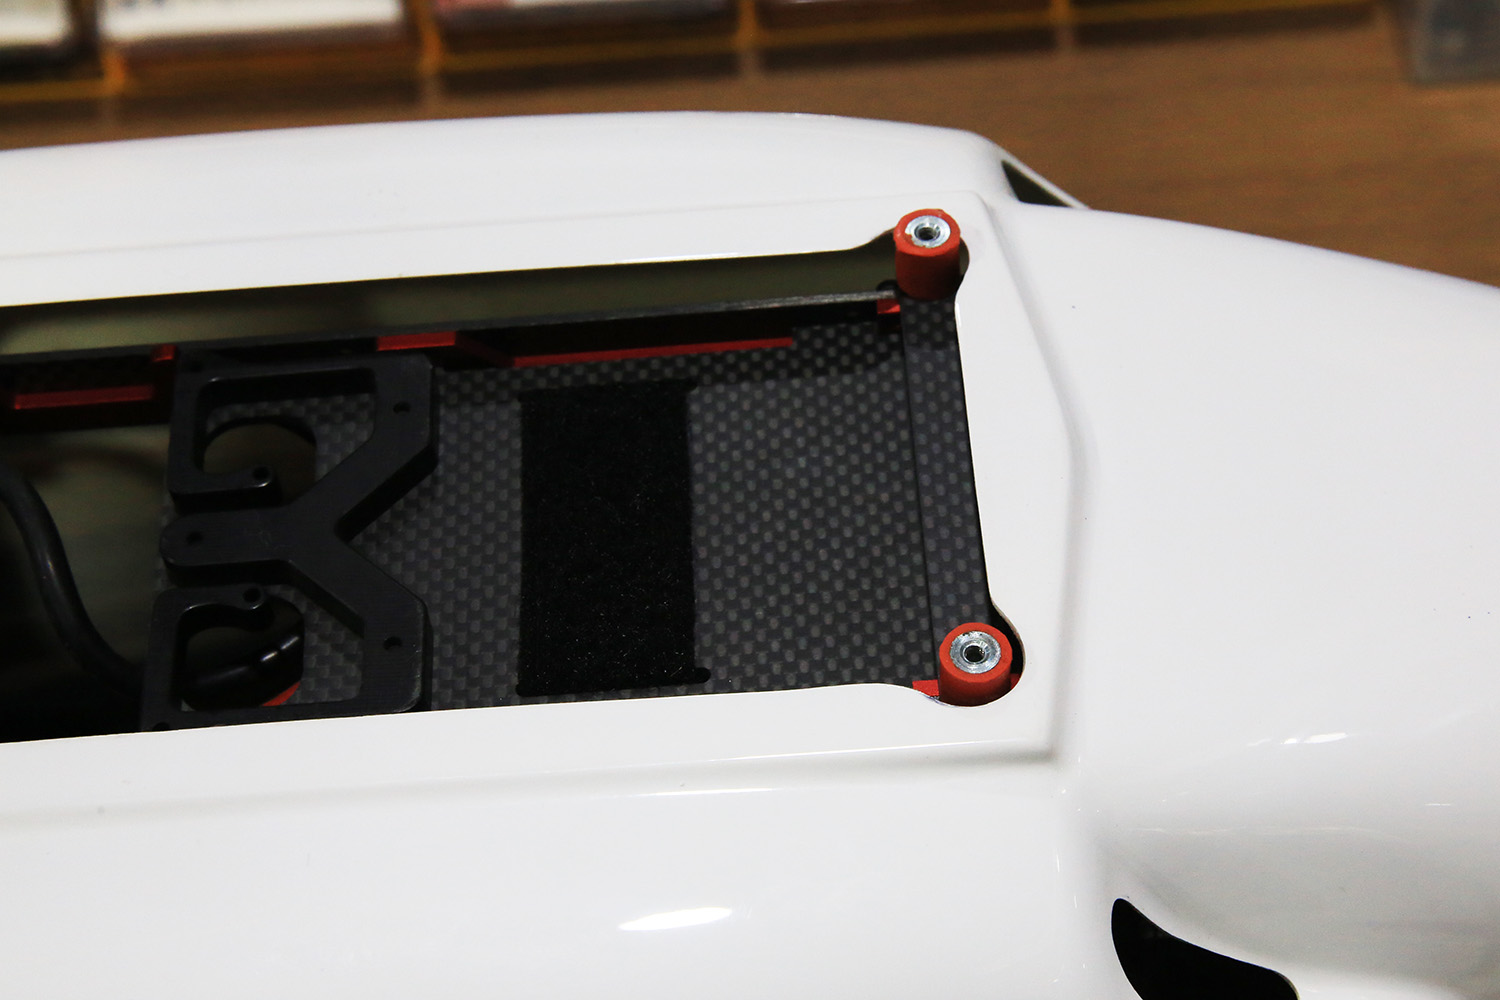
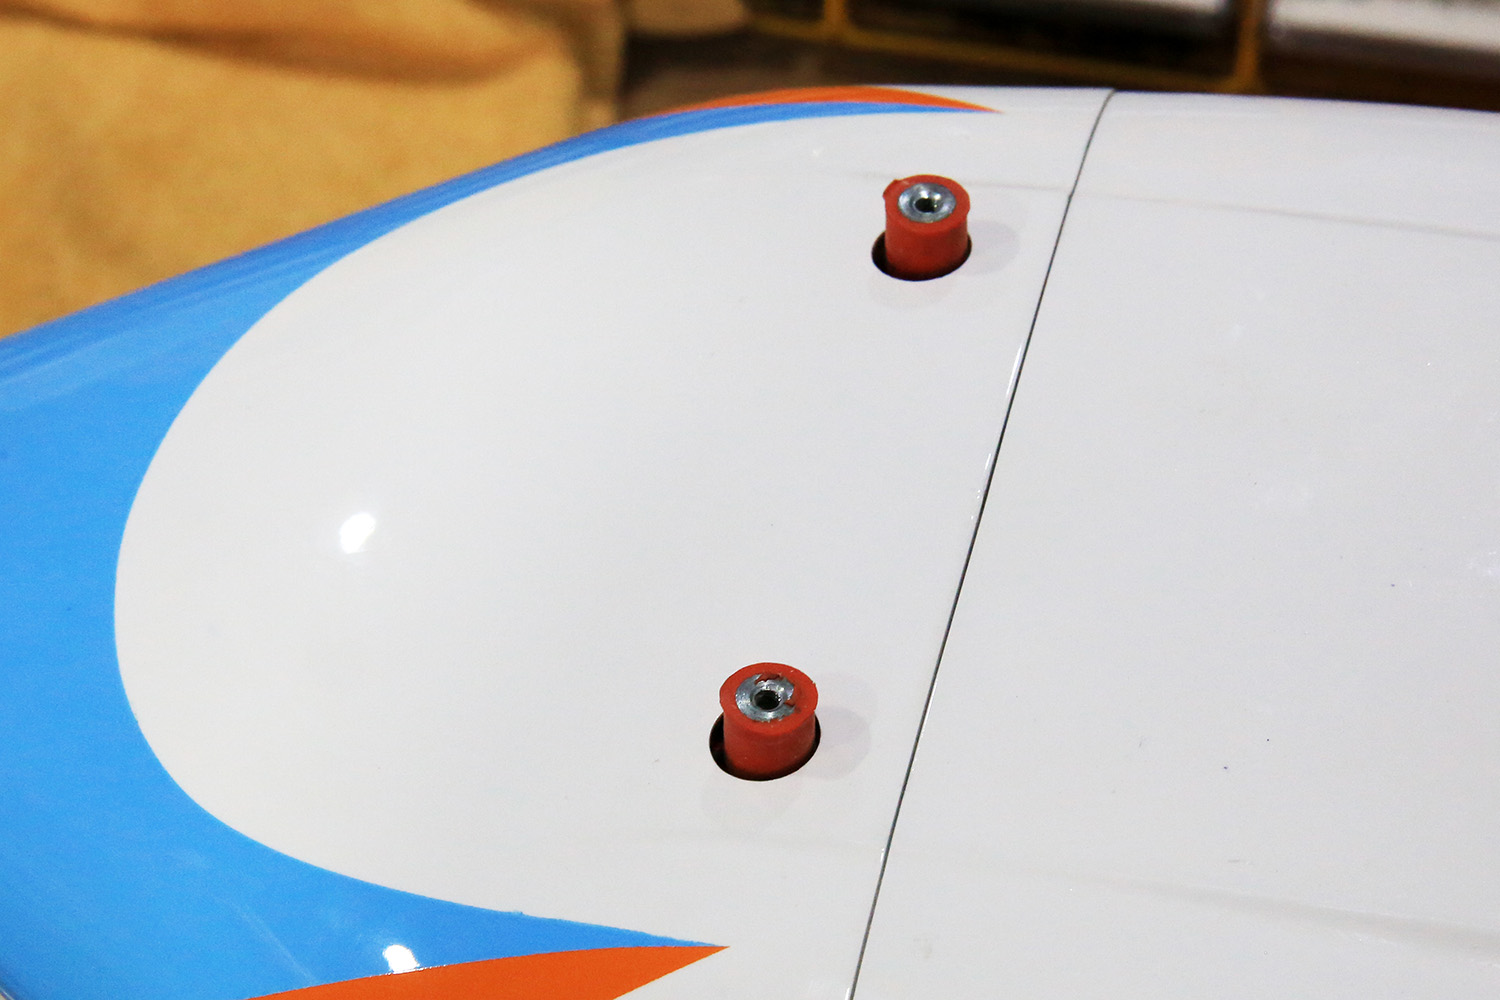
The installation of the entire Body has been completed.
I hope I can help you. Have a nice day!